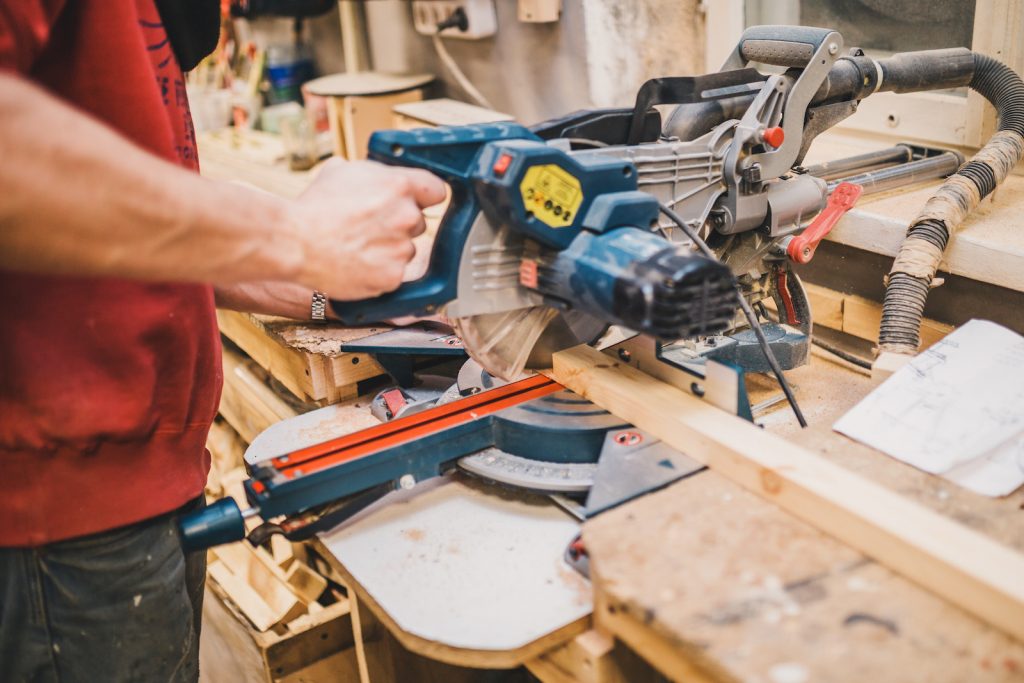
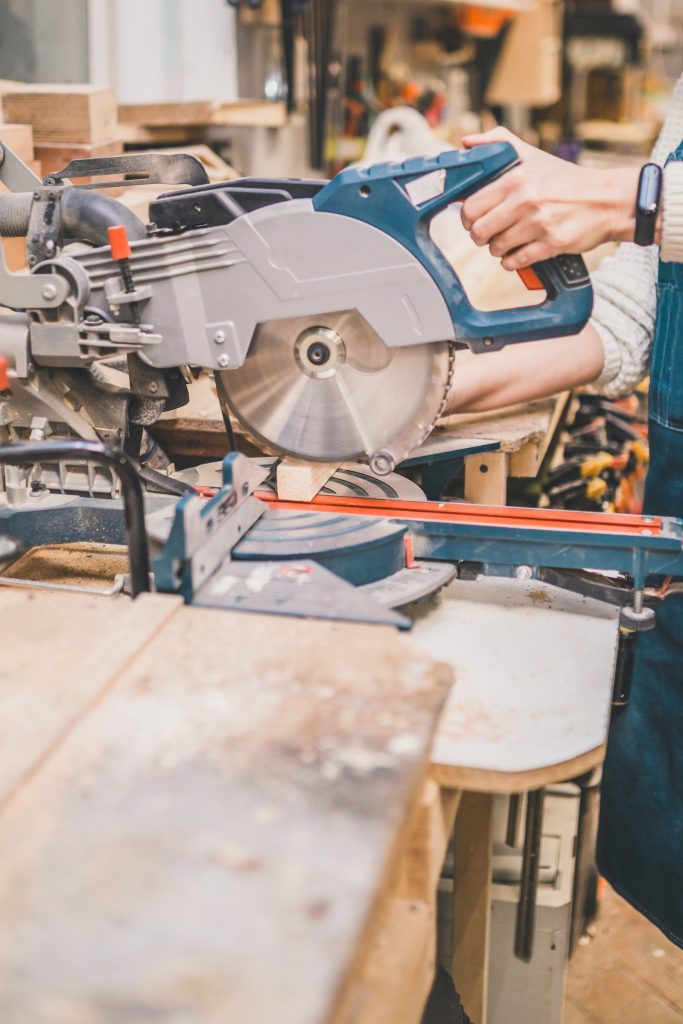
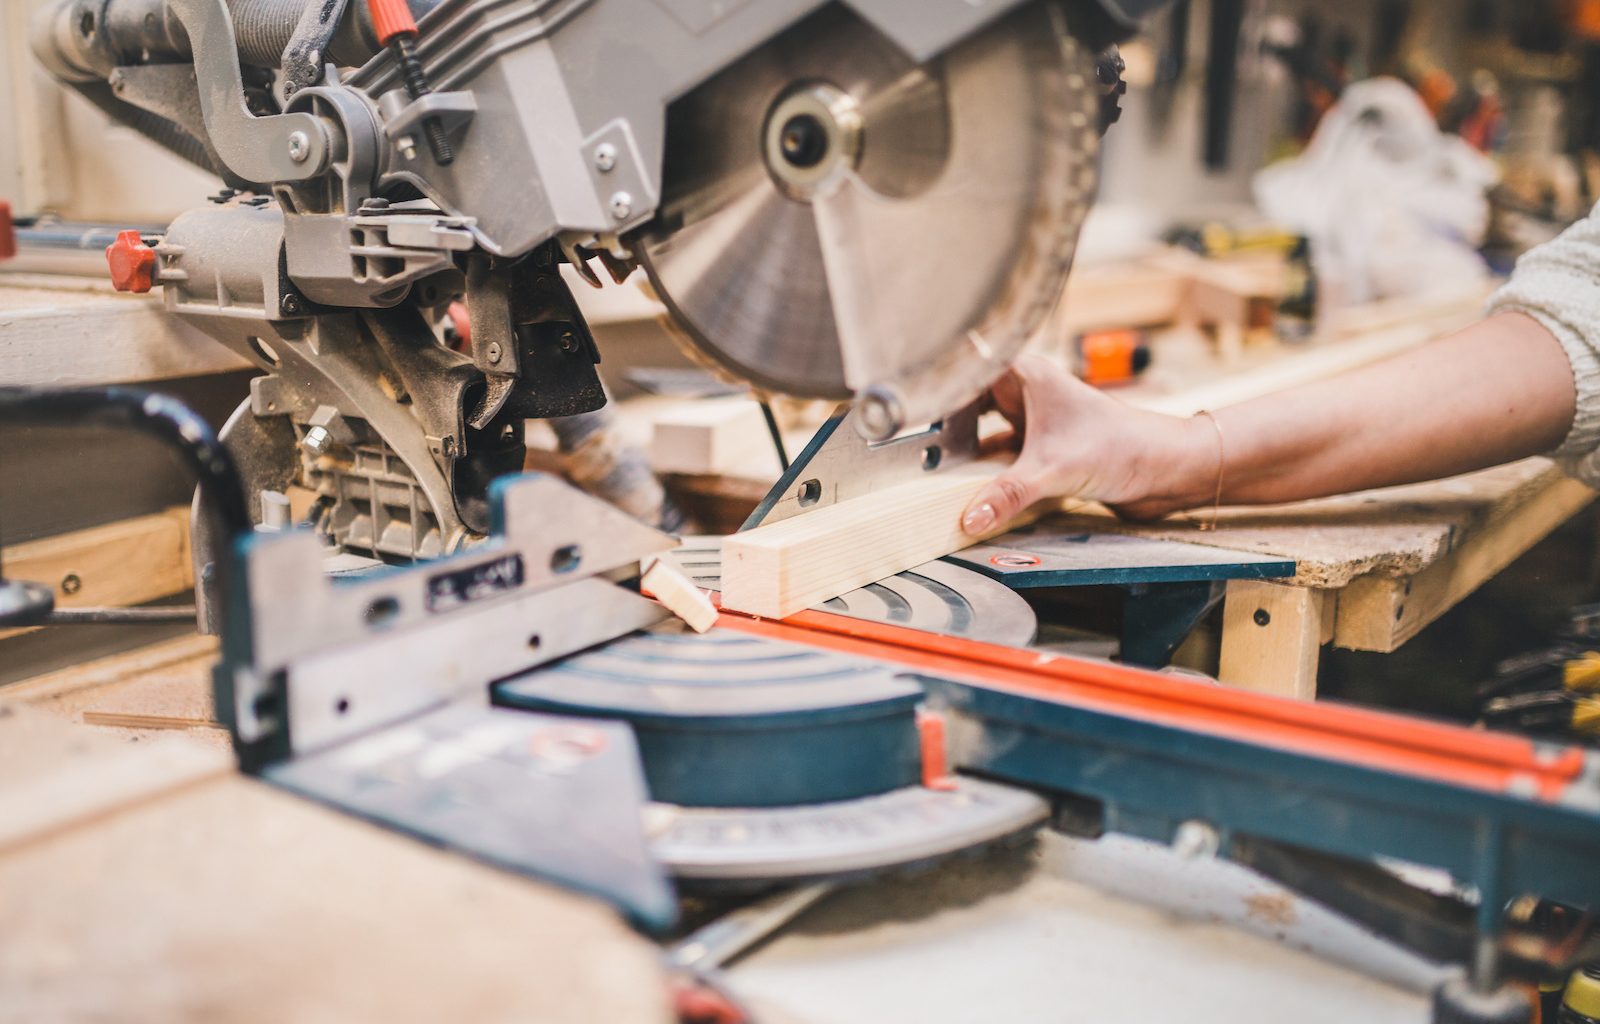
If you use your miter saw often, a miter saw station is a necessity. Having a miter saw station allows you to work on longer pieces and customize the functionality of your miter saw. You can certainly purchase a miter saw station, but it will save you quite a bit of money to build your own. The other advantage of building your own miter saw station is that you can customize it a bit. Getting something that will work for your projects is undoubtedly worth more than a stock model that doesn’t fit your need. Here are some basic steps on how to build a miter saw station.
Tools Needed to Build A Miter Saw Station
The basics of a miter saw station built are fairly simple. If you add in more features and accessories, you may have to add some additional tools. Remember that safety equipment is one of the top requirements when building a miter saw or anything else for that matter.

- Clamps
- Drill
- Square
- Miter Saw
- Circular Saw
- Tape Measure
- Table Saw
- Drill Bits
Simple Miter Saw Station Plan
In our guide, we will appeal more to the experienced woodworker that can quickly put together a project like this without a plan. However, if you do need a miter saw station plan, there are several out there that you can look into.
Steps To Build A Miter Saw Station
Collect Material and Make Cuts
When making a miter saw station, we highly recommend keeping things as simple as possible. Not only will the simplicity save you money, but it will also keep you from running into too many issues with your miter saw station build.
For a simple miter saw station, it is worth using 2 x 4’s and ¾ plywood. The 2 x 4’s will be used to build the table. The plywood will be cut to install the tabletop and the shelves underneath.
A good height for a miter saw table is going to be about 40 inches. This is the height of the table itself; however, the area where the miter saw is mounted will be several inches lower. The table we recommend building is 100 inches wide and about 24 inches deep.
Ensure that you measure the space you have in your shop before you start building this project. If you don’t want a full table and want something that you can work with on a tabletop or floor, you can adjust the overall table’s height.
Build Two Side Tables
When you build a miter saw table, you will essentially be building three small tables. The two tables on the left and right of the mounted miter saw will be the same height. In fact, it is easiest to build these two at the same time and match the dimensions exactly.
When building the side tables, you can build a top frame with four legs and then a base for support around the table’s lower area. The support on the bottom is good for stability but also to make it easier to mount another shelf for some storage.
Mount Miter Saw
After you complete the two side tables, you have to do some measurements. You will want the base of your miter saw or the cutting area surface to be the same height as your side tables. In order to do this, you will have to make sure that your miter saw can be mounted slightly lower than the height of the two side tables.
Measuring the distance between the cutting area on your saw and the base of your miter saw should be reasonably simple, and it will give you the top height measurement for your middle table. Once you have this table built, you can attach your side tables and put the entire unit together.

Storage and Shelving
When you built a miter saw station, you will want to make sure that you are taking advantage of all the space that the table has to offer. There is lots of space under the tabletop that can use used for storage. If you want to keep the miter saw station more lightweight, you won’t want to put cabinet doors on the bottom.
Under the mounted miter saw, we highly recommend placing a shop vac. You can run the shop vac up through the table if necessary to connect to the miter saw. When you built a miter saw station, there are lots of features and accessories that you can add to make it a more functional design.
Building A Miter Saw Station Conclusion
Hopefully, you feel like you have a better idea as to how to build a miter saw station. There are lots of different ways you can design and build this model to work for your needs. However, using the 2 x 4’s and plywood will keep this project simple and very affordable. It should only be a matter of time before you are quickly making cuts on your new miter saw station.


