Airless paint sprayers make spraying large surfaces a breeze – but just how do you use one? In this in-depth guide, we take a look at the basic steps to get you up and running.
Prepare Your Paint
Before you start painting with an airless paint sprayer, you need to properly prepare your paint. As with all paints, you need to mix it really well to ensure you get a satisfactory finish. If you don’t, it could come out blotchy or even fail to dry. After you’ve mixed the paint, you need to strain it using a paint strainer to ensure any remaining small lumps are removed.
We recommend straining the paint into a 5 gallon bucket, just so it has a large stable base preventing it from being knocked over. Next up, you need to check whether you need to thin your paint. Many airless paint sprayers can now spray unthinned latex paint, but check the manual for both your sprayer and the nozzle you are using. If necessary, thin the paint using the correct ratios and thinner.
Prepare the Airless Paint Sprayer
Now your paint is ready, it’s time to prep the sprayer. First up, acquaint yourself with the switches, knobs and various hoses on the sprayer. Place the intake hose into your paint bucket, and get another empty bucket to use for priming.
How to Prime an Airless Paint Sprayer
Now you’re ready to prime your sprayer. This process removes any air bubbles from the sprayer and ensures a steady flow of paint. Check to make sure your nozzle is removed from the gun, and that the sprayer is plugged in and ready to use. Set the variable pressure to the lowest setting. Turn the sprayer into “prime” mode using the switch.
Now, get the priming hose, and place it into your (empty) priming bucket. Keep a firm hold of the priming tube, and turn the sprayer on. After a few seconds, paint should be coming out of the priming tube. When there is a consistent flow of paint, quickly move the priming tube into the bucket with your paint to avoid wastage. Run the machine for another 30 seconds to remove any last bubbles.
Clear the Hose
Now turn the sprayer off. Grab your gun, with the nozzle removed, and the priming bucket. Turn the sprayer from prime mode back to paint mode. Now turn the sprayer back on, and after a few seconds, pull the trigger on the gun, pointing it into the priming bucket. Run the sprayer into the bucket until you get a steady stream of paint.
Choose Your Nozzle
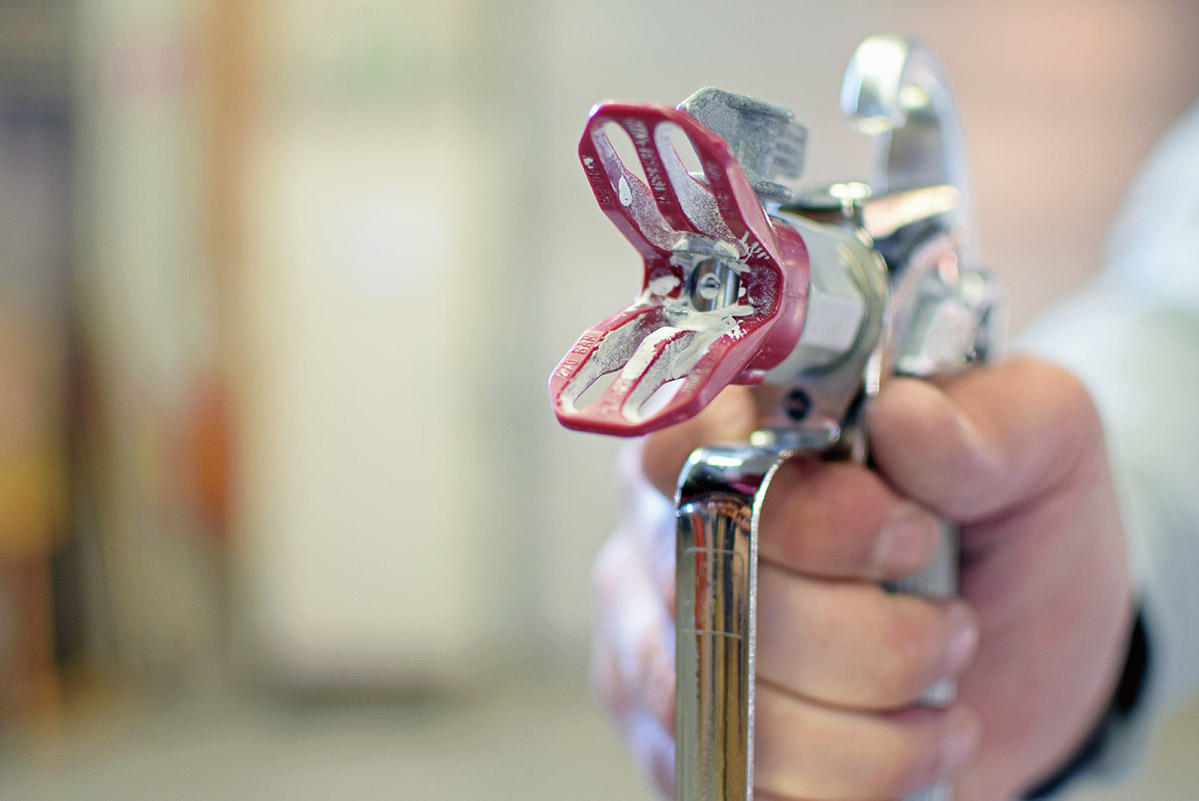
Now it’s time to choose the correct nozzle and guard for your application. Smaller nozzles will give you a tighter spread, which is great for detailed work. Wider nozzles are best for large jobs like fences and building exteriors. Attach your nozzle and the correct guard, and you’re ready to paint.
Painting with your Airless Paint Sprayer
You should have already carefully prepared your painting surfaces before you start. Ensure they are clean and brushed free of any debris. Sometimes, it’s a good idea to work in pairs, and have one member of the team clear the surface ahead of you before you start painting.
Remember safety first: Always paint wearing the appropriate safety equipment. A respirator and goggles are essential, along with gloves. We highly recommend a paint suit as well, as it can prevent overspray from ruining your clothes.
The key to getting the best results with an airless paint sprayer is to use steady sweeping motions, and do not overspray in one area. Doing this can cause the paint to pool rather than giving you a nice consistent finish. If you need more pressure, you can always tweak it using the pressure setting on the machine.
Common Problems
One of the most common issues you can run into with an airless paint sprayer is a clogged tip. You’ll know it when it happens, as you won’t be getting a consistent paint mist from the nozzle. On high quality Graco sprayers, you can simply stop and reverse the tip. On cheaper sprayers, you will need to unscrew the tip and clean it before you can continue.
Another common problem is inconsistent painting caused by not maintaining a consistent distance between the nozzle and the surface. Hold the nozzle 12” from the surface consistently while spraying, and aim for 50% overlap between your swaths.
How to Clean an Airless Paint Sprayer
You should never leave a paint sprayer idle for more than 20 minutes, as the paint can begin to harden and damage the sprayer. It’s also important to clean it properly after every use.
First, put the intake into a solvent solution, and run that through the paint sprayer. After you have thoroughly flushed out the system, disassemble the sprayer and carefully clean the nozzle, gun and intake.
At this stage, it’s also important to check all the filters on the sprayer. Check and clean the intake filter, manifold filter and the gun filter. After you have cleaned everything, leave your sprayer disassembled to dry. Taking care to remove all the paint can greatly extend the working life of the sprayer.
Check out our guide to cleaning an airless paint sprayer for more information.


