Are you thinking about building a storm shelter? A DIY storm shelter is a superior room that handles dangerous weather. They are built to withstand tornados, hurricanes, and debris. When constructed correctly, they will remain standing even when the rest of your house comes apart.
If you live in “tornado alley,” you might have been thinking about doing this project for a while. This design is secure and sturdy, so you should feel safe during intense weather when in your new storm room.
In this article, we will be covering how to build your own DIY storm shelter. Building one yourself is not an overly complicated project. However, you can still expect to put a few days worth of work into making it.
Why You Should Build a DIY Storm Shelter
Having a storm shelter at home can give you and your family the peace of mind they deserve. If you do not have one already, do you know where the safest rooms in your house are? You would want to avoid windows, so many people opt for the basement.
However, what you think are the safest rooms might not be sturdy enough- especially when faced with intense storms and high wind speeds. Tornados can send debris crashing through any home at a high velocity.
If you live somewhere there is the risk of intense winds, including tornados or hurricanes, you should build a storm shelter. They do not cost a lot and can stay standing in severe storms.
Some people avoid installing them because they think they would be a waste of space. Although, that is not the case. You could also use it for storage- closets and pantries are a possibility. They can be functional when there are no emergencies as well.
DIY Storm Shelter Designs
For a storm shelter to be safe, it needs to be separate from the rest of your home’s structure. This separation is done by creating another room that is securely bolted to a slab of concrete. The room will also need to consist of quality materials that can resist damage from flying debris.
The design we are covering today is simple but effective. There are more designs out there that you may also want to consider. Ours can be constructed with the help of a professional contractor if needed.
What to Keep in Mind
Your storm shelter can be any size. You will want to make sure that you are building it to fit the space that you have at home and how many people need to fit inside.
The shell of the walls and ceiling will consist of two layers of ¾ in. plywood. When putting it together, make sure that the grains are going in opposite directions. When you do, it will add more stability to the shelter.
There will be a layer of 14-gauge steel on the interior of your safe room. This feature is necessary to stop debris that may travel through the plywood. You might also be thinking about applying a drywall layer to the outside; this would be more for aesthetic purposes.
Finally, you will want to mount a steel door in a steel frame. Be sure that you add deadbolts, at least three, opposite of the durable hinges. Steel is strong enough to stop flying debris from damaging the safe room, be sure that you do not use anything else.
Where can I get Materials?
There are a few places that you can reach out to for materials. If your local stores do not offer anything strong enough, you can contact a full-service lumber yard.
Lumber yards are more likely to have the materials you need for this project. They might not have the 14-gauge steel, so you will have to find a steel distributor. You can locate them through a quick Google search.
DIY Storm Shelter Materials
For the Floor
- Steel strapping
- 3 in. x ¼ in. steel washer
- ½ in. epoxy embedded bolts
- For holding the plates to the concrete slab
- Double bottom plates
For the Ceiling
- Doubled 2×6 ceiling joints
- Attached to the walls
- Two layers of ¾ in. plywood
- 14-gauge steel layer
- 1×2 in. furring strips
- Attached to the steel
- ½ in. drywall
- Doubled 2×4 top plates
For the Door
- 14-gauge foam-filled steel door
- 16-gauge steel door frame
- Ball-bearing hinges
- 3 sets of deadbolts
- Placed across from the hinges
For the Walls
- Double 2×4 studs
- 14-gauge steel sheet
- ¾ in. plywood (placed horizontally)
- ¾ in. plywood (placed vertically)
- ½ in. drywall (optional)

Don’t forget tools!
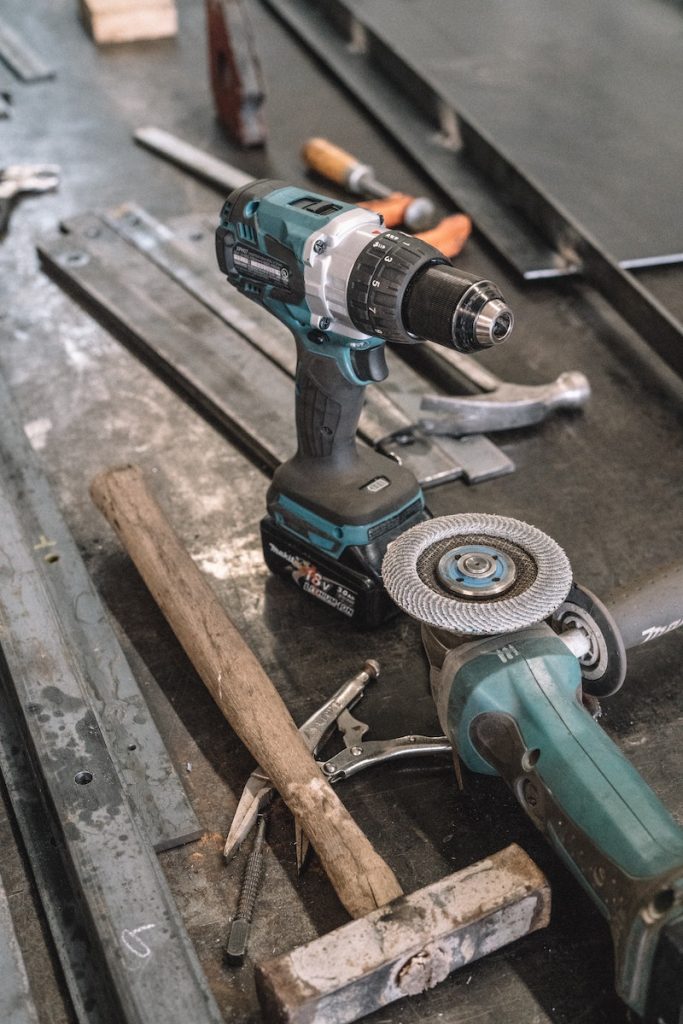
At a minimum, you will need a tape measure, hammer, impact driver, spirit level, and a circular saw. But there are many other tools that will be useful for this project. our personal favorite was using a metal cutting saw as it is so precise and fast!
Building A DIY Storm Shelter
When it comes to building the storm shelter, it is easiest to think of it like you are making another small room. You will want to layer the plywood sheets with the grain running in different directions, then situate your steel sheets on the inside.
From there, you will attach the plates to your concrete slab using washers and bolts. The bolts keep everything more secure, so be sure to place them carefully. FEMA.gov has a section in their guide that covers building the shelter and where you should set it up. Be sure to check it out.
Pro-Tip – If you live in a tornado-prone area, FEMA will grant you money for the shelter. They can pay as much as 75% of the entire structure’s cost. Be sure to contact them for more info.
When you put the door in, make sure that it is on the longest wall. Doing so helps to make it more secure and easier to get out of the shelter.
What Else to Include in your Storm Shelter
When you finish building your DIY storm shelter, make sure that you put in an emergency supply kit. First aid items and water are helpful. You would need to have a way to contact the outside world and a tool to help you remove the door if it were to become stuck in the storm.
We also recommend that you have a portable phone charger kept inside. Most brands can hold a charge for a long time, so they are beneficial to have in the shelter. That way, you can use your cell phone to contact others when the storm is over.


