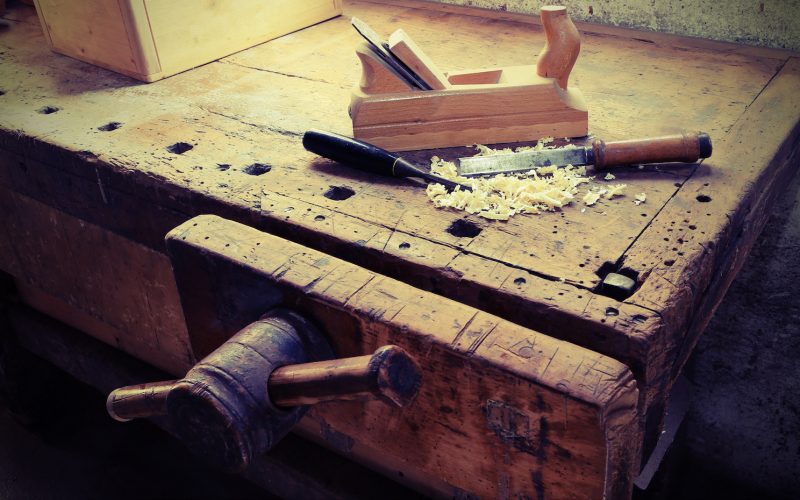
Why buy a bench vise when you can make your own? That way, you can be certain that it will be tailored to the projects you plan on working on. We put together this guide to help you build a DIY woodworking bench vise. Plus, vises can be expensive- so this is how you can make your own.
What You Need for A DIY Woodworking Bench Vise
Tools
Materials
- Wood glue
- Epoxy
- Two hex bolts (½ in by 8 in to 10 in long)
- Two ½ in flange nuts
- About 16 feet of 1 by 6 hardwood (should be a strong material, like birch or similar)
Of course, you can feel free to adjust the sizes as you see fit. You might want to make something smaller or larger, depending on what you will use your homemade vise for.
Step 1: Building the Front Jaw
Start by cutting two 32 in long pieces from your board. Next, glue them together to make the front jaw. You will want to start the next step while you wait for this part to dry, since it will take a long time.
Step 2: Building the Rear Jaw
You will want to make the rear jaw with an “L” shape- this design gives the jaw area to clamp down to on your workbench. You will need to cut four pieces. Their sizes should be as follows:
- 30 x 1 ¾ in
- 36 x 4 ¾ in
- 30 x 2 ½ in
- 36 x 5 ½ in
Start by gluing the edges of the 30 x 2 ½-inch board to the 36 x 5 ½-inch board. You will want the smaller one to be facing upwards to start building that “L”. Now make sure that the centers are aligned, then let the piece sit.
Next, you will glue the 36 x 4 ¾ in board onto the remaining board and give that some time to fully dry as well.
Step 3: Drilling Holes
Next, you will drill two holes through the front jaw. You will want them to be 3 inches away from the shorter edge and 2 ¼ inches away from the top. We recommend that you use a drill press, so that the holes are completely straight. A hand drill will also work, if you are steady.
Now, line up the jaws you made along the top side with their center aligned. You will want to mark the holes before you drill and make certain they line up well. Once you have done that, use your drill or drill press to make the holes through the back jaw piece.
While you are using the drill, you will want to make shallow cuts around your holes. That way, your nuts and bolts will be flush against the final piece.
Step 4: Build Handles
There are a few different options for your bench vise handles. You might want to use bolts and washers, or you could go ahead and make wooden handles. These additional steps make your vise more convenient to use in the long run.
Start by gluing together boards to make the thickness of the handle. You can make them as large as you want to. From there, you will want to cut them down into either a rounded or octagon shape, so that they are easier to grip and turn.
Drill into the front of the vise, then insert the hex bolt inside, head first. Ensure it is straight, then fill with epoxy. Your handles will be able to fit over them once they have completely cured.
Step 5: Finishing Up your DIY Woodworking Bench Vise
You can stop here if you want to. Or, you can sand down your woodworking bench vise and use some finish on it. For maintenance, we recommend that you occasionally add your choice of was to the bolts, so that turning the handle is a bit easier.
Once you are satisfied with your vise, you will want to attach it to your workbench. Using your vise is simple- all you need to do is put in your project and tighten the jaws to hold it securely. You can work on it from there.
DIY Woodworking Bench Vise Conclusion
Building a DIY woodworking bench vise can save you a lot of money. If you enjoy DIY projects, then you may even have most of the materials and tools at home already. You can adjust the materials and size for this design as you see fit- making your bench vise tailored to your work.


