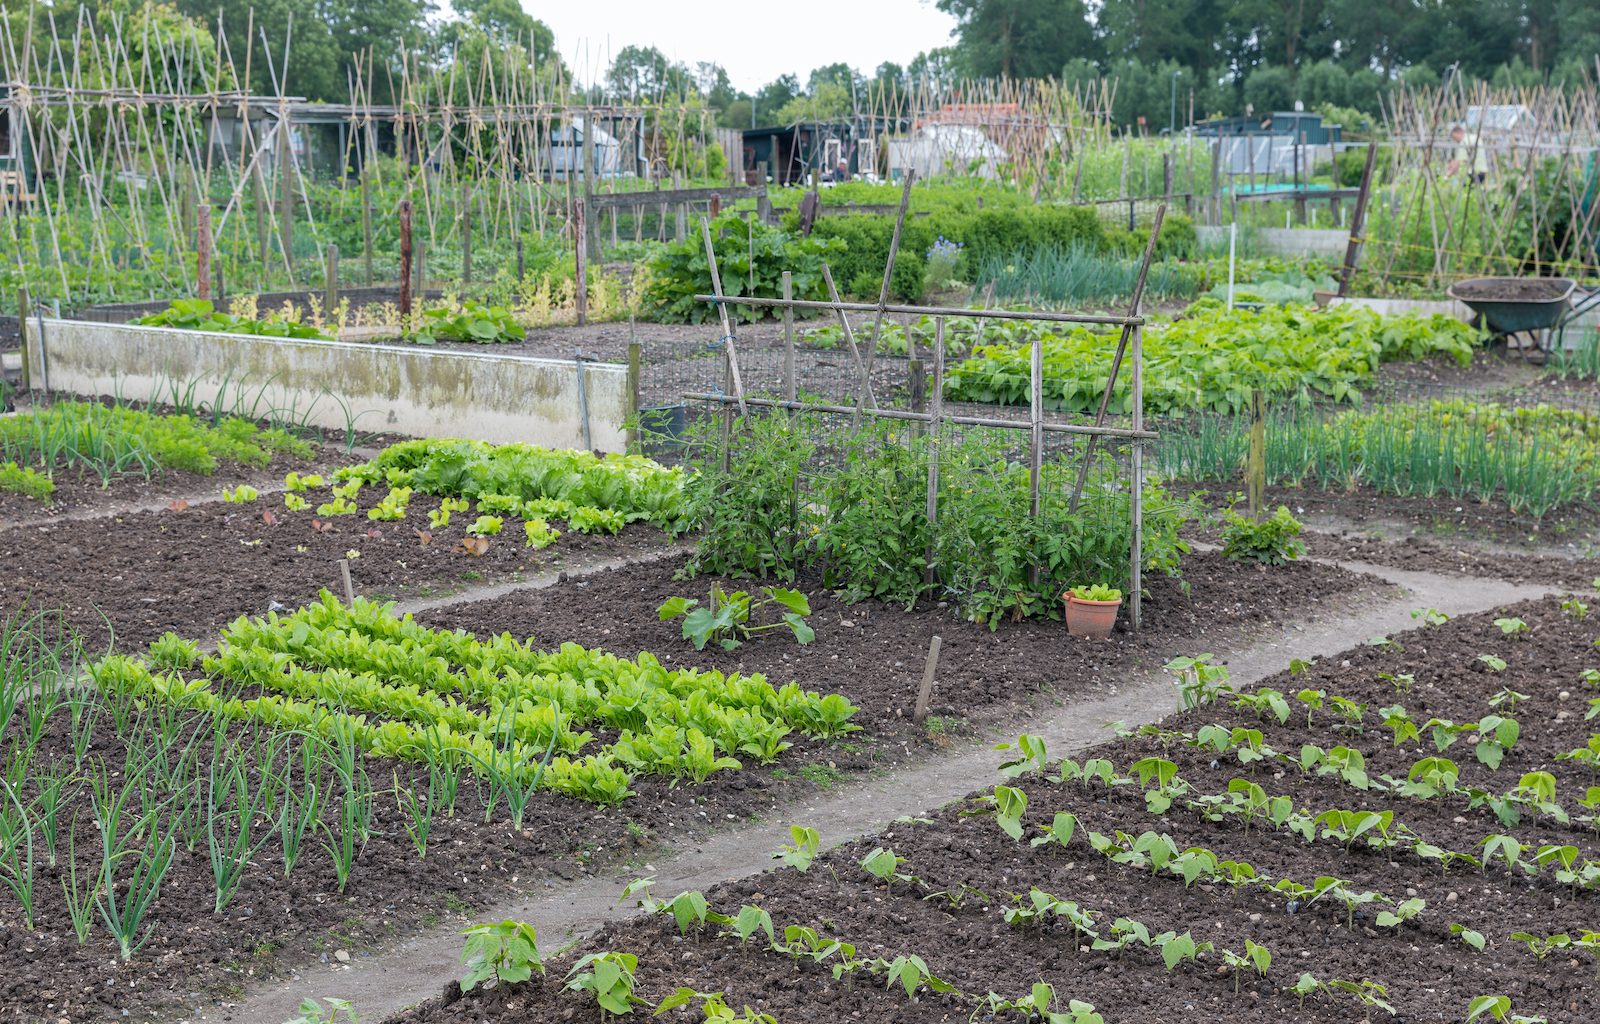
Is this the first time you’ve come across Eden Gardening? Or maybe you want to know more about the method? Well, look no further because you’re in for a great read!
This gardening method was coined by Paul Gautschi, a devout Christian who was inspired by the Biblical “Garden Of Eden” that prospered and bore sustenance without man’s touch.
The Man behind the Method
Paul Gautschi spent most of his time exploring and examining the forest floor near his property and finally found the answer to the Garden Of Eden. You see, rich mulch forms when years of fallen leaves, twigs and other plant matter decomposes. Now, all he had to do is innovate a plan to get mulch like that to develop in a manmade Garden Of Eden.
Paul experimented around his orchard trees and found a method that succeeded. As a father of 7 children, he has grown food for his family and friends, never to sell. He also regularly gives tours of his orchards and gardens to local and international groups alike who then get to enjoy the fruits of his labor.
If this has severely piqued your interest, there is a film that delves deep into Paul’s spirituality and how it all interlinks with his idea of the Garden Of Eden. It’s clear that he is a man of strong faith and the revelation of his innovation is undeniable for both believers and non-believers alike.
Let’s get hands-on! Continue to read up on an in-depth guide on how to start your own Garden Of Eden. We have a full guide on everything about the Eden Gardening method you need to know!
The Benefits of Eden Gardening
If you haven’t already caught on to what Eden Gardening is all about, it is a style of gardening that requires little to no maintenance at all once it’s been set up. This means you will continuously get to reap the abundance of delicious produce from your garden.
The Eden Gardening technique reduces the risk of soil erosion and regulates itself. Soil that is layered thick with decomposing matter is protected and less prone to erosion. It does well to stay moist as well because the mulch stores rainwater and does not bake in the sun. The natural thick mulch that forms new soil as time passes by protects the older soil. Once the Garden Of Eden has been established, it becomes profoundly fertile.
Materials Required:
Eden Gardening requires these three main materials to begin and they’re terribly easy to get ahold of.
Newspaper/Light Cardboard
Newspaper or light cardboard will be your first layered material. It will act as a barrier between the ground and the subsequent layers. This is where weed prevention starts and you will need enough of this material to create a layer that’s two to three inches thick. Save your newspaper from the day before or opt to visit your local recycling center for cardboard, your Back to Eden Garden journey starts here!

Compost
Your second layer will require compost. Rich mushroom compost, homemade compost or store-bought compost are all great options. Keep in mind that you will need enough compost to spread a layer that is three to four inches thick once again.
Pro-Tip – Organic compost works well for the second layer of the Back to Eden Garden.
Wood Chips
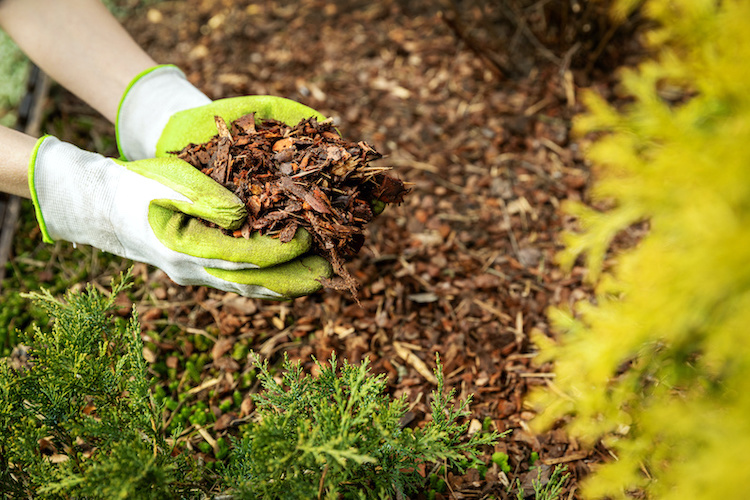
Wood chips will make up the final layer of your Back To Eden Garden foundation. You will need wood chips that are no bigger than three inches per chunk to make up for a six-inch layer. This is to give the weeds little to no chance to grow and to maintain the soil’s moisture.
When sourcing for these chips, it’s best to keep in mind that they are not chipped from woods that have been treated with chemicals or sealers. We want these wood chips to be as natural as possible!
Pro-Tip – Tree services sometimes use wood chippers to trim trees and you can sometimes get these for free or at least pretty cheap. Tree services are usually happy to give away their job waste!
Eden Gardening Methods
There are four methods you can choose from when planning for your Garden Of Eden. Let’s take a look at which method will suit your garden best!
1. The Traditional Eden Garden Method
This method will require a single plot in the garden where your plants need to be tended to (weeded, watered, amended) on a regular basis. If you have a lot of free time to invest in your Garden Of Eden, try this!
2. No-Dig, No-Till Method
This is also known as Lasagna Gardening where narrow rows of plants are composted from the top and not turned so the organic material can “cook” over time.
3. Raised Bed Method
The Raised Bed Method requires you to either build or install a raised mini-garden bed where the soil is specially made or purchased from gardening centers. This is great if you don’t have a lot of garden space and need to extend atop concrete surfaces.
4. Square Footage/Intensive Planting Method
This method requires planting in a grid to maximize the use of space in the garden. It’s perhaps the most efficient way of all the growing methods!
Reminder: No matter how much we’d like it to be, no gardening method is truly weed-free. Although the Back to Eden Gardens will still have a fair share of weeding to do, it should be significantly less than how weedy bare soil gets. The removal of weeds from your Garden Of Eden is also much easier with the moist mulch and shallower roots.
Putting Your Eden Garden Together!
Eden gardening design
Pick an area in your garden that gets plenty of sunlight. You don’t need a space that’s been cleared or tilled because Eden gardening uses layers to build the garden bed. You’re perfectly fine starting on top of rocky or grassy ground.
Layer Your Newspaper/Light Cardboard
After you’ve got your design down, you’ll have to put down the first layer of your Back To Eden garden. Newspaper is preferable but light cardboard works as well. You will need to lay down the materials to create a layer that is about one to two inches thick. Ensure you overlap the pieces so there are no gaps for weeds to poke through! When you’re done, lightly dampen this layer.
Spread Compost Over Your First Layer
Next, top your first layer with compost. Remember, any compost we mentioned above is fine to use. Spread the layer of compost out to about three to four inches thick for the best results. If the compost is dry to the touch, wet it lightly before putting down your final layer.
Top It All Off With Wood Chips
Top your compost layer with wood chips and spread them so that they cover the previous layers thickly. The ideal thickness would be about five to six inches.
Once you’re done, use a garden hose to ensure the new garden mound is sufficiently damp.
Start Planting!
You’re almost done! At this point, you can go right ahead and start planting your seeds or baby plants into the top-most layer. You’re also free to let it sit for a few days and take a break after all that hard work! Whichever you choose to do, just know that you’ll see the benefits of this amazing gardening method work its magic over time. After watering your new seeds or plants, you shouldn’t have to water your Eden garden again (or if at all, for a very long time).
When weeds are kept out of your garden and optimum moisture in your soil is automatically maintained, this means fewer chores for you and more harvests to sow! The Eden Gardening technique is absolutely magnificent when it comes to growing food. If you’re all about living a healthy and sustainable lifestyle, this is definitely something you should try!
