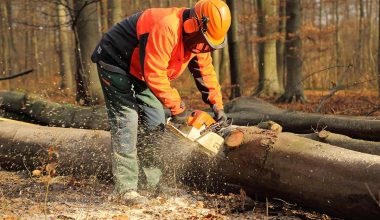
Electric chainsaws are extremely useful pieces of equipment and have grown in popularity over the last few years. They offer clean and quiet running compared to their gas-powered cousins.
Just like a gas chainsaw however, you do need to replace the chain intermittently. This is because the chain stretches as it is used due to the loads placed on it while cutting. In this article, we’ll take a look at how to remove the old chain, and how to put a chain back on an electric chainsaw.
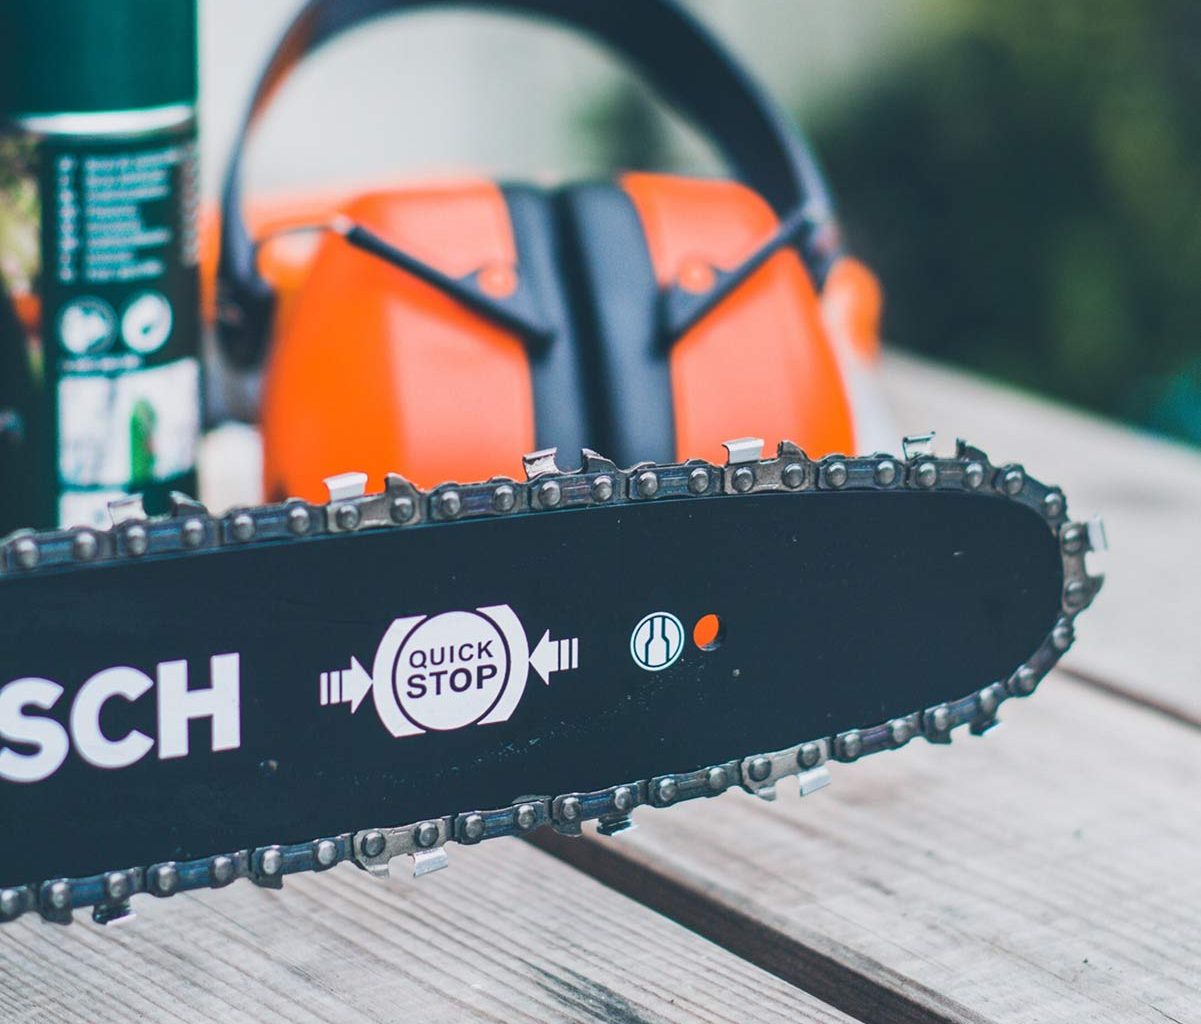
Loosen The Cutting Bar
First, you’ll need to take the old chain off the saw. To do this, you’ll need to loosen the cutting bar. The way this is done differs from saw to saw, but there are two main approaches used by manufacturers: those requiring tools and those that are tool-free.
For tool free saws, there will be a large knob you can turn to release the bar and de-tension the chain. Normally, this is located on the right hand side of the saw. For saws that require tools, you’ll normally see a pair of nuts or bolts located on the side of the chainsaw where the bar meets the body of the chainsaw.
De-Tension The Chain
Having loosened the cutting bar, you now need to de-tension the chain. Look for a screw or a knob located near to where you loosened the cutting bar. Turning this will cause the chain to slacken on the cutting bar.
Slacken the chain all the way off, and you’ll find that you can pull it off the cutting bar entirely. Keep working it off until it comes completely free.
Removing The Chain
Once removed from the cutting bar, the chain will still be connected on the small sprocket inside the saw. Looking up from underneath, you should be able to see a slot in the saw and see the chain on the sprocket. Using a screwdriver, or your fingers, slide the chain off the sprocket. It should now come free for removal.
Putting The Chain Back On Your Electric Chainsaw
Now you are ready to mount your new chain. The first thing to note is to ensure you have the correct chain for your electric chainsaw. Not all chains are compatible with every saw. You should check carefully that you have the correct chain for the saw.
Next, make a note of the direction the chain moves on the saw. Normally this is noted on the saw, but it is in fact the same for all saws – the chain moves along the top of the bar, around the tip and then along the bottom.
This is important to ensure you fit your new chain the correct way around. Note the direction that the teeth are sharpened, or any notation on the chain or packaging to ensure you have it fitted correctly.
Mounting The New Chain
Put the new chain over the sprocket, and pull it out parallel to the cutting bar. Carefully locate the inner lugs on the chain into the slot on the cutting bar. Start nearer the body of the saw, and work your way around the cutting bar until they are all snug in the bar.
Tension The Cutting Bar
You can now start to re-tension the cutting bar, making sure that all the lugs stay correctly aligned in their slot. Keep tensioning the bar until you have reached the correct tension specified by the manufacturer. Normally this allows for a little slack – the chain should not be bar-tight.
Finally, secure the cutting bar again using the bolts or the tool-free adjustment knobs to lock the bar back down again. Most chains are supplied pre-oiled, but make sure you have topped off your saw with chain oil.
Move the chain backwards and forwards by hand to check it moves correctly. Now you are ready to plug the saw back in and test it out. Run the saw carefully to oil your new chain, and perform some test cuts to make sure the new chain is cutting correctly. If anything is jammed or doesn’t seem right – stop, unplug the saw, and check for issues.


1 comment
thank you so much for this cool post.