Introduction
Staining wooden furniture is a great way to revive it if it’s looking old or dull. You can bring your furniture back to life by simply restoring the original staining. Or you can give the piece a whole new look by picking a stain in a different color and tone. However, making the staining look professional can be difficult.
Here, I take you through the 5 steps to staining wooden furniture in a professional way. It’s not the easiest thing to do, but with a bit of guidance, it shouldn’t be impossible. Whether you’re a seasoned woodworker or a newbie, this article will help you get started!
Step 1 – Prepare To Stain Wooden Furniture
Before beginning, it’s important to prepare your workspace and equipment.
Safety
Safety is paramount when doing any DIY. As with any woodworking, you need all the basic safety equipment, which you can read about here. Respiratory protection is important with any chemicals. Covering your eyes is also essential. Additionally, get some high-quality latex or alternative gloves. Stain can be difficult to remove from the skin or cause irritation, so keeping hands covered is necessary.
Equipment Needed To Stain Wooden Furniture
You’ll also need quite a bit of equipment to stain wooden furniture. Get the following materials and tools:
- Sandpaper and sanding block
- Screwdriver
- Sander of choice, preferably oscillating
- Staining pads – microfiber are a great choice
- Brush
- Vacuum
- Microfiber cloth and tack cloth
- Stirring stick
- Spare paint can or other container
- Stain of choice
- Clear protective coating
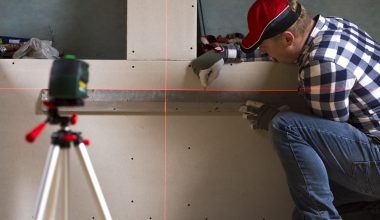
Prepare Your Work Area
Once you’ve got your equipment and safety measures in place, you can prepare your work area to stain wooden furniture. Find somewhere sheltered from the elements but also well-ventilated. You don’t want wind and rain blowing your equipment around, but you also need to be careful working with chemicals. Cover the floor with plastic sheeting or other old dust sheets to stop damaging the ground. Finally, remove anything from the furniture that you’re not going to sand and stain. For example, hinges and handles can be taken off using your screwdriver.
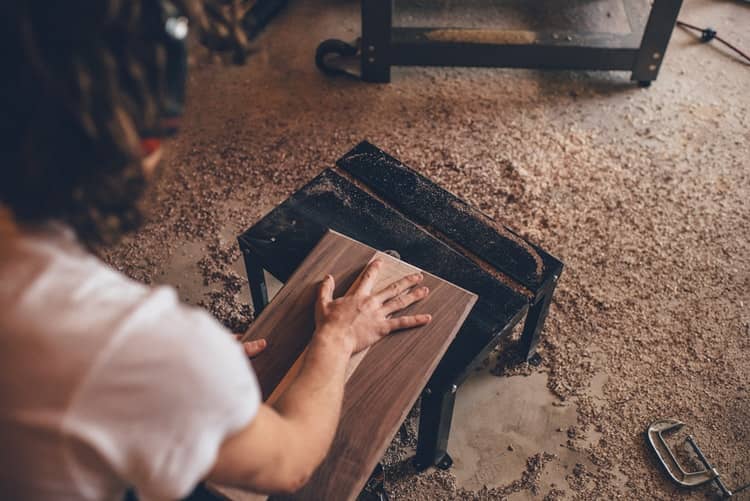
Step 2 – Sand Furniture
Begin the process with sanding furniture down. Start by hand with the sanding block and sandpaper. Then use the powered sander with a fine grit. You can use sandpaper by hand for tricker areas, like thin chair legs.
Make sure this step is done thoroughly. To stain wooden furniture, you need a fresh surface without any old stain on it. Take your time to get this right, as if not fully sanded, the staining won’t look professional.
Step 3 – Clean Up Your Work Area
Once you’ve completed the sanding, you need to clean up your work area to get ready for the next steps. A messy workspace can create dust and debris which will mix with the stain, ruining the finish. Use a brush and vacuum to remove dust from the furniture area. Pick up the plastic or dust sheet carefully and dispose of any additional dust from sanding in the trash. Replace the sheet, and elevate the piece of furniture slightly on some wooden blocks for ease of access to all areas. Now you’re ready to stain the wooden furniture!
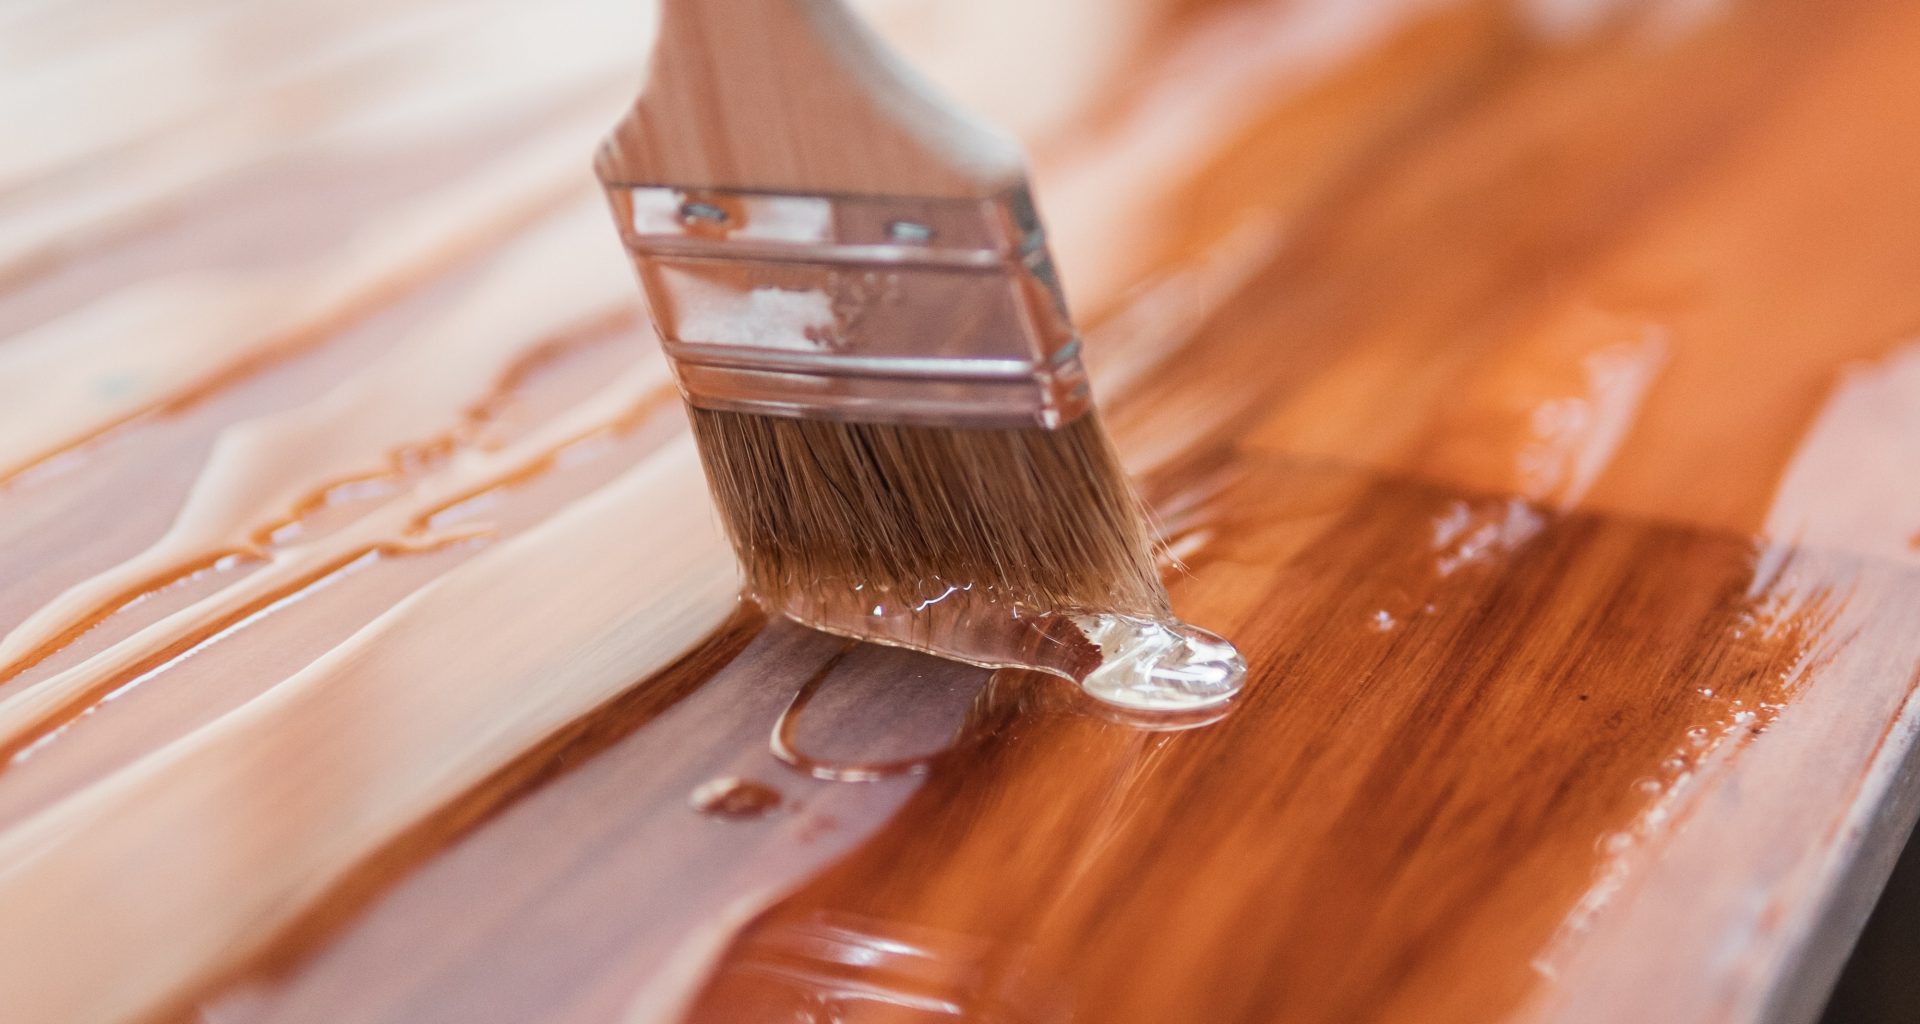
Step 4 – Stain Wooden Furniture
This is the main step. Prior to staining, you need to open your stain can and mix the stain. Use a small wooden stick to stir it, mixing up any product that has separated. Decant some of the product into a spare paint can or another container.
Start Staining Wooden Furniture
Use the microfiber staining pad to begin brushing the stain onto the furniture. Make sure you have enough stain on the pad, but squeeze out any excess. Wipe the stain on carefully, starting with the biggest, most visible areas.
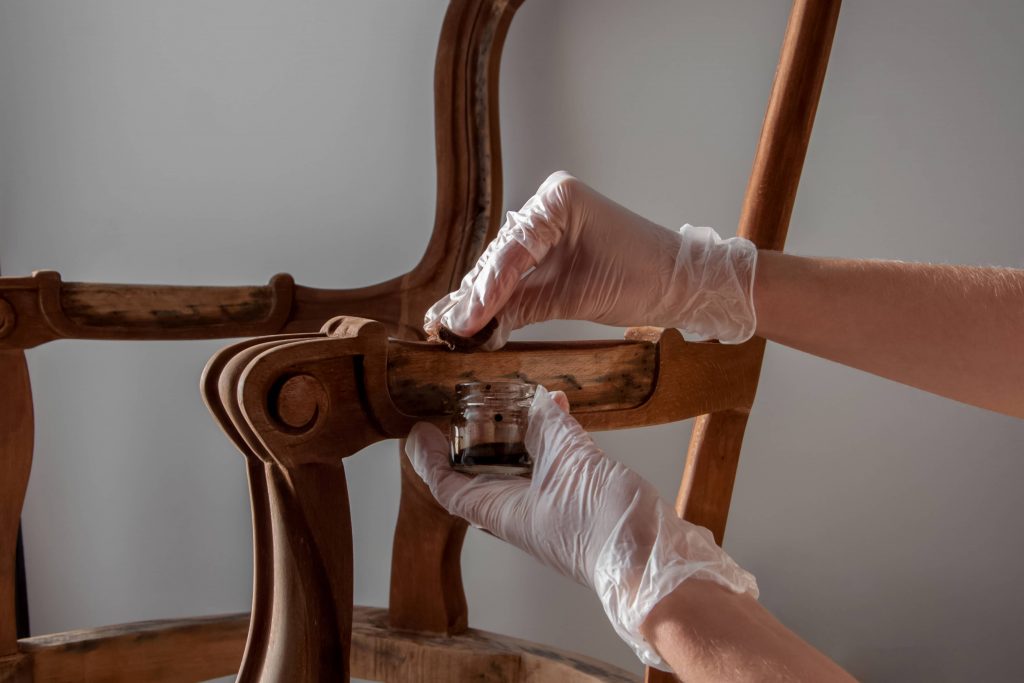
Using your spare microfiber cloth, wipe off the excess stain as you go. This will prevent any areas from going patchy with too much stain.
Step 5 – Finishing Touches
Once you’ve covered the whole piece, leave it to dry. It should dry quite quickly in around a couple of hours. Make sure there’s no dust around from sanding which could mess up the drying process. Next, you can move onto the final stage of staining wooden furniture!
Protective Coating To Complete Staining Wooden Furniture
When the stain is dry, using a protective coating to set the stain and make it more durable is important. There are plenty that come in spray cans and are easy to apply. This protective coating isn’t visible but will keep your furniture in good condition for longer.
Conclusion
Staining wooden furniture yourself is reasonably straightforward, as I have shown. However, sometimes you might want to bring in a professional. I would recommend getting an expert if you have old or antique furniture or something with intricate designs that would be ruined easily by sanding. However, with most normal furniture, you can do it yourself!