Many people panic when the first encounter mold in their home. But the truth is, in many cases you can remove mold from a lot of surfaces quickly and easily yourself.
Mold is caused by fungal spores which exist in the air all around us. It might sound strange, but they are a normal part of daily life. The problem is, they can quickly multiply in warm, moist areas of your home, like bathrooms, kitchens and loft spaces.
The key to dealing with mold effectively is to address the problem early on, and also remove any environmental factors that can cause it to return. If you clean it and remove it fast, mold and mildew will not have time to permeate through surface materials and cause lasting damage. And if you remove the sources of warmth or damp, you can prevent it from returning for the long run.
When should you hire a professional?
Most mold professionals use a general rule of thumb to determine whether their services are required. If the area of mold is less than 10 square feet, and the area is reasonably well ventilated, then in most cases you will be able to deal with the problem yourself. The key to great results is to use the correct mold remover for the surface.
If you have a known mold allergy, breathing problems, or the mold is located in an area with very poor ventilation, then you should consider calling in a professional. This guide by House Logic is very helpful.
Equipment You Will Need:
- Bleach-based mold remover (or Chlorine bleach)
- Non-bleach-based mold remover (or Dish detergent)
- A bucket of water
- A soft bristled brush
- A sponge
- A vacuum (ideally with a HEPA filter)
- A protective face mask
- Safety glasses
- Rubber gloves
Put on Protective Equipment
Before you remove mold from any surface, it’s important to put on your face mask, gloves, and eye protection. Also make sure the area is well ventilated, and if possible, use plastic sheeting to protect nearby areas that are not infested with mold.
Why take these precautions? The process of removing mold from all surfaces results in disturbed spores flying up into the air. Masks and eye protection help to prevent you from inhaling them, and protecting nearby surfaces stops mold landing and growing somewhere else.
How to Remove Mold from Wood
Step 1: Vacuum
First, use a vacuum to remove as much mold from the surface of the wood as you can. Using a HEPA vacuum will help to capture spores in the filter. After you have thoroughly vacuumed the area, empty your vacuum into a sealed plastic bag for disposal.
Step 2: Clean
If you have an all-purpose non-bleach-based mold remover like RMR-86, then go ahead and apply it to the affected area, following the directions on the bottle. After the appropriate amount of time has passed, you can clean it off with a damp sponge.
For heavily soiled areas, you might need to repeat this process several times, and potentially lightly scrub the surface with a brush. If you don’t have a mold cleaner, start first with detergent and water, scrubbing the mold with a soft brush.
Step 3: Kill Remaining Mold
After you’ve cleaned the surface, you need to kill any remaining spores to prevent mold from returning. To do this you’ll need to use a mold treatment product like RMR-141, or a Chlorine Bleach.
If you are working on a porous surface like unpainted wood, we recommend using a non-bleach mold treatment product, as it lessens any staining caused by bleach. On painted surfaces, this is less of a concern.
After applying your mold treatment product or bleach solution, remove any excess moisture, and leave the surface to dry completely. This could take several hours.
Step 4: Persistent Mold
If the mold has seeped far into the wood and the above steps have failed to remove it, then you can try to sand the surface down. This will expose any remaining mold in the wood, and allow you to treat it. If mold has seeped throughout the wood, you might have to replace it entirely instead.
How to Remove Mold from Tiles
Step 1: Clean The Tiles
Removing mold from tiles is a relatively straightforward process, as they are a non-porous surface. Get started by cleaning the tiles with a brush and a household cleaner. Scrub the mold to remove as much as you can. Rinse the cleaner away with water afterward.
Step 2: Treat The Mold
After the water has dried off, it’s time to treat the surface of the tiles to kill any leftover spores. You can so this using a bleach solution, or a hydrogen peroxide solution like OxiClean. Best of all is to use a purpose made mold treatment product for non-pourous materials, like Tilex Mold Remover.
Before applying the treatment, it’s always best to quickly test it on a small area out of sight. You never know if it could damage your surface, so it’s always best to check. Once you are happy, apply the treatment to the area, and leave it for 15 minutes or as directed on the product. Afterward, rinse it off with water.
How to Remove Mold from Drywall
Mold on drywall can present a problem, as unpainted drywall is very porous. This means the mold easily seems throughout the material and destroys it.
Step 1: Sealed Drywall
For painted and sealed drywall, you can first apply the same cleaning steps as you would with normal painted wood. Clean the surface first, and then apply a mold treatment product to kill any leftover mold.
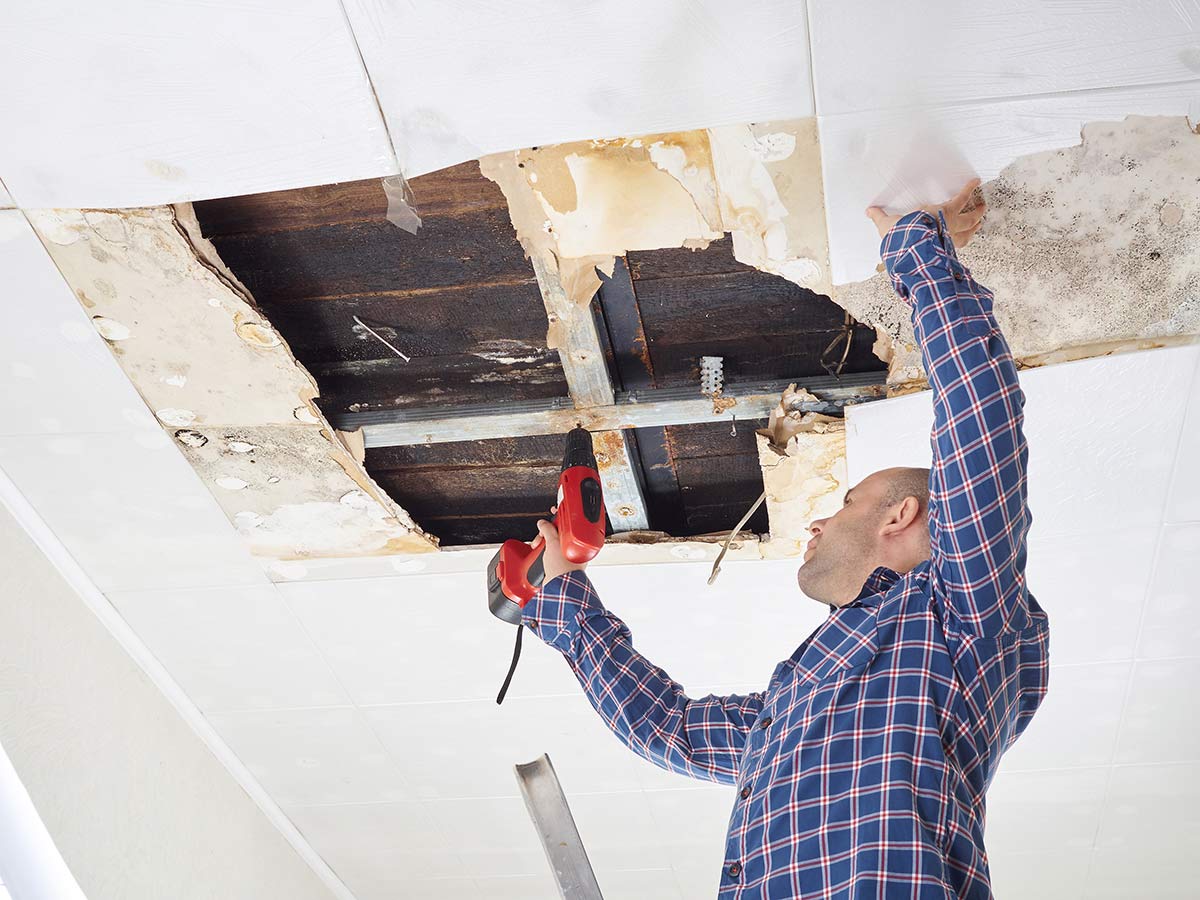
Step 2: Remove the Drywall
If you discover the mold is on untreated drywall, or it has penetrated through the surface, you will – unfortunately – have to remove it. Use a batten finder to determine where your wall battens are, and remove the segment of wall between the two battens using a sharp knife or saw.
Once removed, use a HEPA vacuum to clean the area behind it, and if necessary, treat the wall battens for mold. It’s important to allow this area to dry thoroughly and remove all the mold before you replace the drywall.
Once dry, cut a new section of drywall to fill the hole, and nail it into place. Apply joint compound or a similar filler to smooth over any gaps, and then prime and repaint.
How to Remove Mold from Carpet
Like drywall, carpet mold also presents a potentially serious problem. As carpet is very porous, mold quickly infiltrates the surface. For unfitted or loose carpets and rugs, you might be able to wash them with a gentle cleaning product such as EC3 Mold Solution.
For fitted carpet, in most cases you will need to replace that section of carpet.
Carefully cut out the affected section, roll it up, and place it in a sealed plastic bag for disposal. Before you replace the carpet, dry the area thoroughly, removing any underlay if affected. You might need to treat and remove mold from the floorboards. After the area has dried out, you can replace the carpet and underlay.