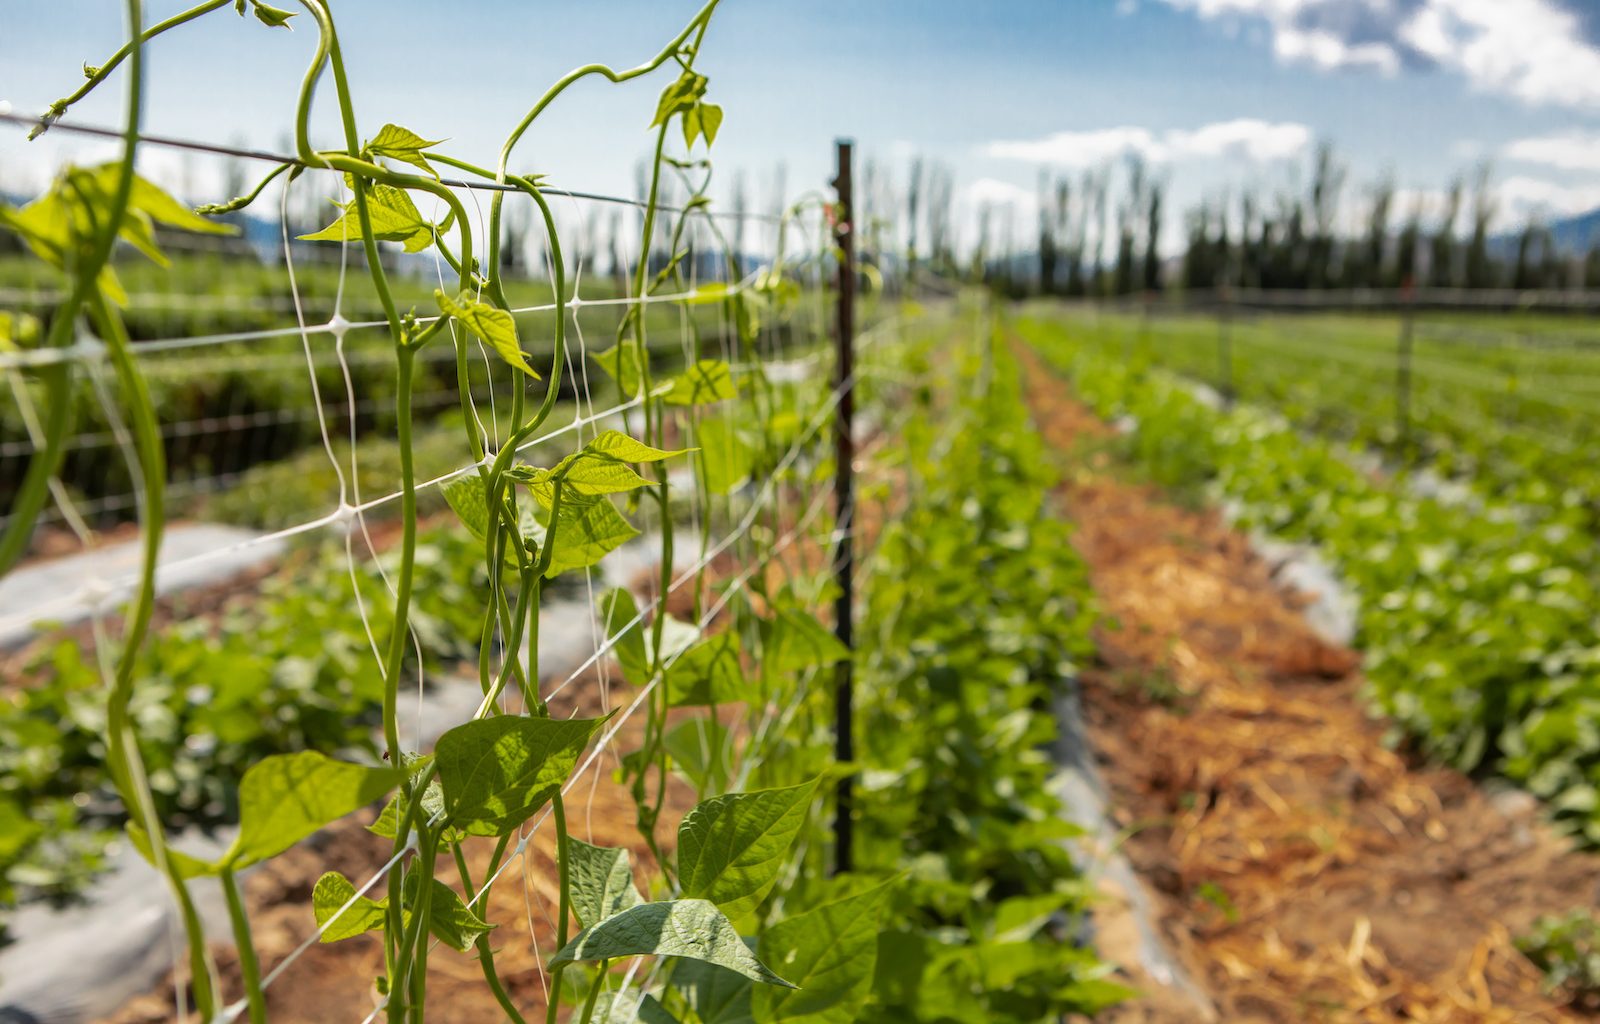
If you want to grow peas properly, you will need a pea trellis. As far as garden construction work and projects are concerned, the good news is that the pea trellis is one of the easiest you could ask for. In fact, if you have some young helpers around your house, the pea trellis is a perfect project for them to participate in.
The following steps to create a pea trellis are relatively easy and should only take you a matter of minutes. Indeed, your time spent building a pea trellis will help you harvest quite a few more peas that are healthy and worth eating.
Supplies Needed For A Pea Trellis
When you are getting ready to build a simple pea trellis, use the following supplies.
- Bamboo
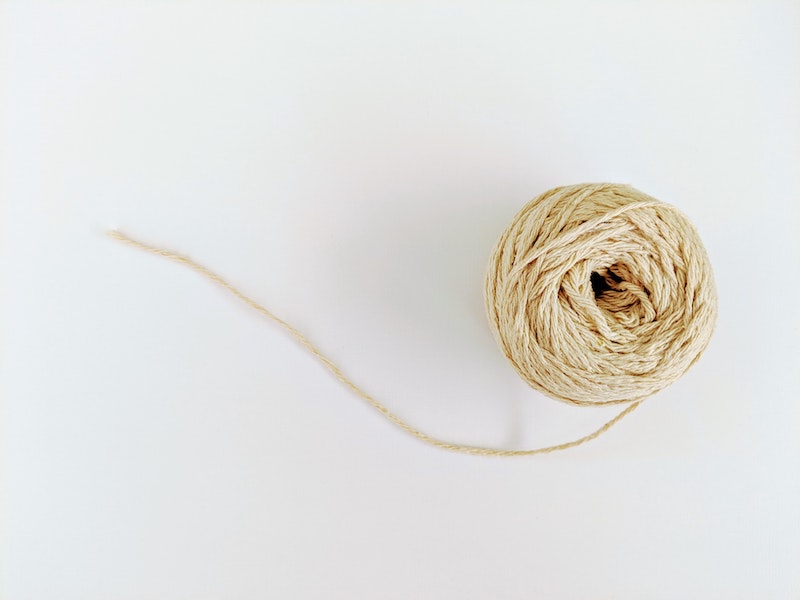
- Garden Twine
Steps For Building a Pea Trellis
There are lots of ways to build a pea trellis; however, we have found that this is a simple and more straightforward method that you can be done within a matter of just a few minutes.
Cut Your Bamboo Pieces
We recommend cutting your two side pieces of your trellis to be about three feet long. This should give you enough of a stable base for some small pea plants. If you plan on growing quite a few peas, you may need something that has a triangular shape base on either side.
For now, let’s assume a rectangle shape basic pea trellis. You will need two pieces of bamboo to go along the sides and two pieces for the top and bottom.
Tie The Frame Together
When you have your rectangle of bamboo built, you will then tie it together using garden twine. Make a knot in the four corners of the rectangle. Make sure that you allow the base of the pea trellis to stick out a few inches. This will be where you push the trellis down into the soil. We feel about four to six inches should be enough.
Wind the Twine
At this point, you should have a bamboo rectangle tied together by garden twine. The next step is to start stringing the yarn up and down over the bamboo upper and lower supports. This is what will create your trellis.
Start by tying your garden twine to the bamboo bottom. Then you will wrap the twine up to the top of the support and loop it around once. If you don’t loop the twine around at the top, it tends to slide too much across the supports. The simple loop around gives it a bit more stability.
Continue this pattern down the entire length of the bamboo supports. We recommend keeping the twine a few inches apart. You want to give the pea plants plenty of surface area to grab on to.
Install Your Pea Trellis In The Garden
The last step is to install this trellis in your garden. The best way to do this is by sticking the bamboo base that you made a little longer, directly into the soil in your garden bed. When your peas start to make their way up to the trellis’ height, simply wrap the bottom one on. As long as you get a pea plant started, it will handle the rest with ease.
If you struggle with your pea trellis standing up straight, you can always add another piece of bamboo as support. The support piece would tie to both sides and go into the ground at an angle. This would make the side of the pea trellis look a bit more like a triangle. However, for a few small pea plants, a basic rectangular design should do the trick.
Thanks to Garden Therapy for the inspiration!