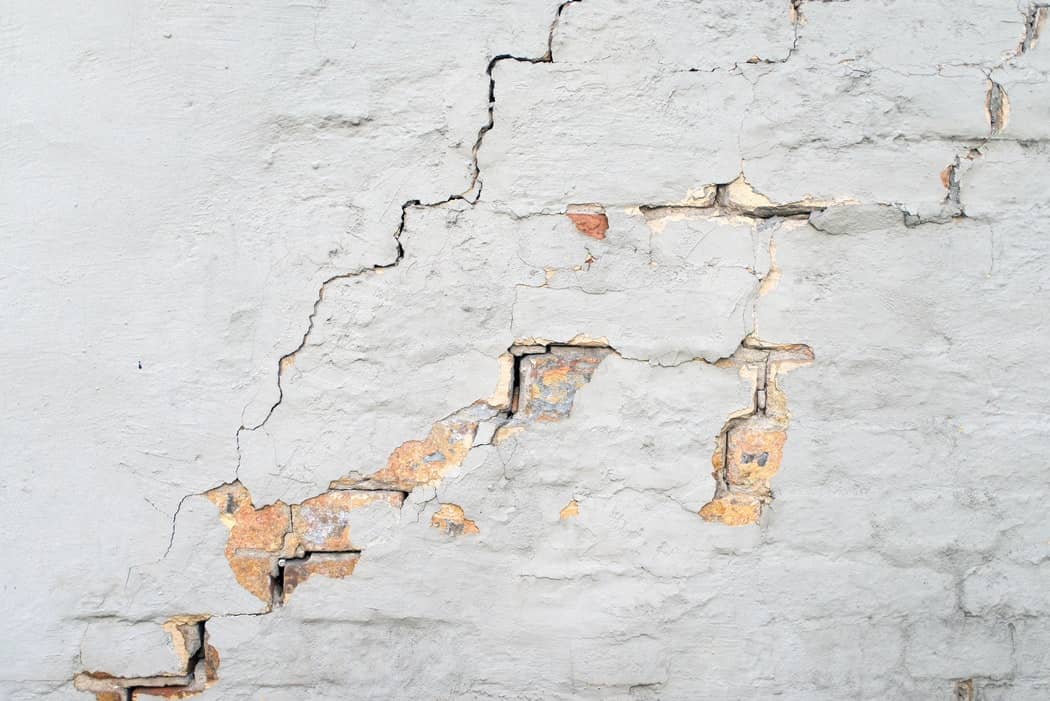
It’s irritating when it happens, but wall holes and cracks are quite common and you can expect some in your home at some point. Wall holes and cracks typically form when your walls are old or damaged. Whilst it’s no reason to panic, it doesn’t look pretty. It’s fairly simple to fill wall holes and it won’t take you much time when done properly.
You could just use some standard filler, but this isn’t effective and won’t last a long time. There are a few key tips to follow when it comes to wall-filling which we’ve outlined below. Follow our 4 easy steps to filling wall holes to get the job done!
Step 1 – Prepare Your Wall
First things first, you need to prepare the wall before filling any wall holes. Take any loose bits of debris from the inside of your wall to clear it out. Use a hoover or brush (depending on the size) to take any mess out of the hole so it’s empty. Chances are you’ll also have loose edges that are falling off, so use a flat tool or scraper to remove these.
Once done, use a sander (if you have one) or sandpaper to lightly sand the crack. This will remove any additional debris and smooth the edges for filling. Use light sandpaper (180-220) grit for this, as hard sandpaper could damage the wall further.
Step 2 – Pick A Wall Hole Filler
Now your wall is prepared, you’re already halfway there! Next, you need to take into account what sort of wall you have and what sort of hole or crack you’re dealing with.
Powder-based filler is cheaper than other fillers, but it needs mixing and is only useful for deep cracks or holes in masonry. Ready-mixed or flexible filler is ideal for drywall or lighter cracks and holes. For walls outside, look for exterior-specific filler and use power for deep holes and ready mixed for smaller holes.
If you have larger holes, perhaps where pipes have been previously, expanding foam is what you need. You can also use a scraper to remove excess foam when it’s dry and paint over it.
There are specific fillers for drywall and masonry, so it’s worth checking this before you buy. The wrong filler will make the finish less professional and won’t last long-term.
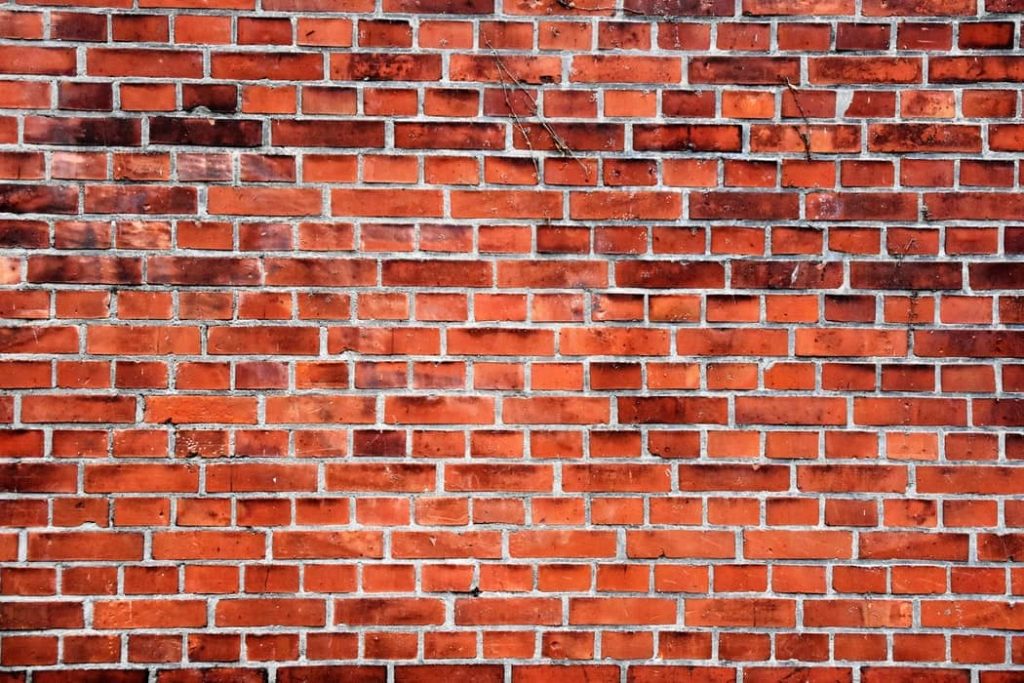
Step 3 – Identify The Type Of Wall Hole
You either have deep holes (10mm+) or lighter, less deep holes (10mm or less) that you might find in your wall. As well as this, you can also get hairline cracks, which are very light (barely visible) wall cracks. These can be in the corner of your walls or the center, but the same technique applies either way.
Look at the type of crack/hole you have, as well as the wall type, and choose the appropriate filler.
Step 4 – Fill The Wall Holes
Deep Wall Holes
Start by scooping your powder mix into a fresh container and add the appropriate mixer. Take a filling knife and add this mixed filler into the crack, pushing as much in as possible. Remove excess filler by using a scraper by going up and down along the crack.
Leave the filled crack to dry for the amount of time as specified by your filler product. Once done, take some light sandpaper (200+ grit) and go over the area, lightly pressing down to smooth it out. If you have an electric detail sander, use this instead but remember to press lightly.
You can then apply your paint or wallpaper to fill the hole over. If the area is not quite even then just sand some more, but be careful not to over-sand. If it’s a really deep hole, apply the filler in layers to ensure maximum strength, as this will last longer.
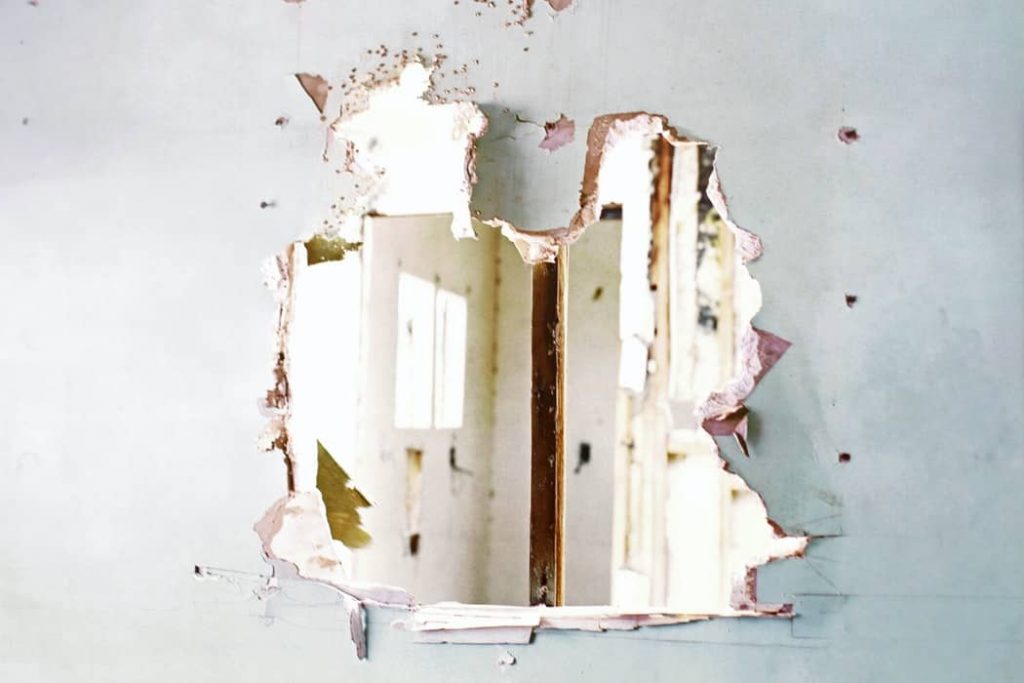
Small Or Shallow Wall Holes
If you have powder, mix it up and prepare it, but a pre-mixed filler is more suitable here. Use a filing tool or scraper to fill up the hole or crack and use a smaller tool (like a knife or small scraper) to remove excess. As with deep holes, wait for the area to dry and sand down lightly before applying paint or wallpaper.
Hairline Cracks
Since hairline cracks are usually in plasterboard, use a plasterboard-specific filler (we suggest Polyfilla) or pre-mixed filler. Apply with a scraper, sand down and apply light or watered down paint. Once dry, resend to make the filler blend with the rest of the wall and then repaint.
Conclusion
Filling holes in your wall is pretty simple, but it’s important you know what to do. Make sure you buy/use filler that is appropriate for your wall as well as the crack or wall hole your filling. By following these methods, you’ll fill that hole in the wall in no time!
