Bandsaws are a great tool for the workshop as you can make many different types of cut. However, they must be maintained properly to avoid problems. Most bandsaw problems originate from blade related issues.
We will quickly run through common bandsaw blade problems you may be experiencing, before explaining how to change a bandsaw blade.
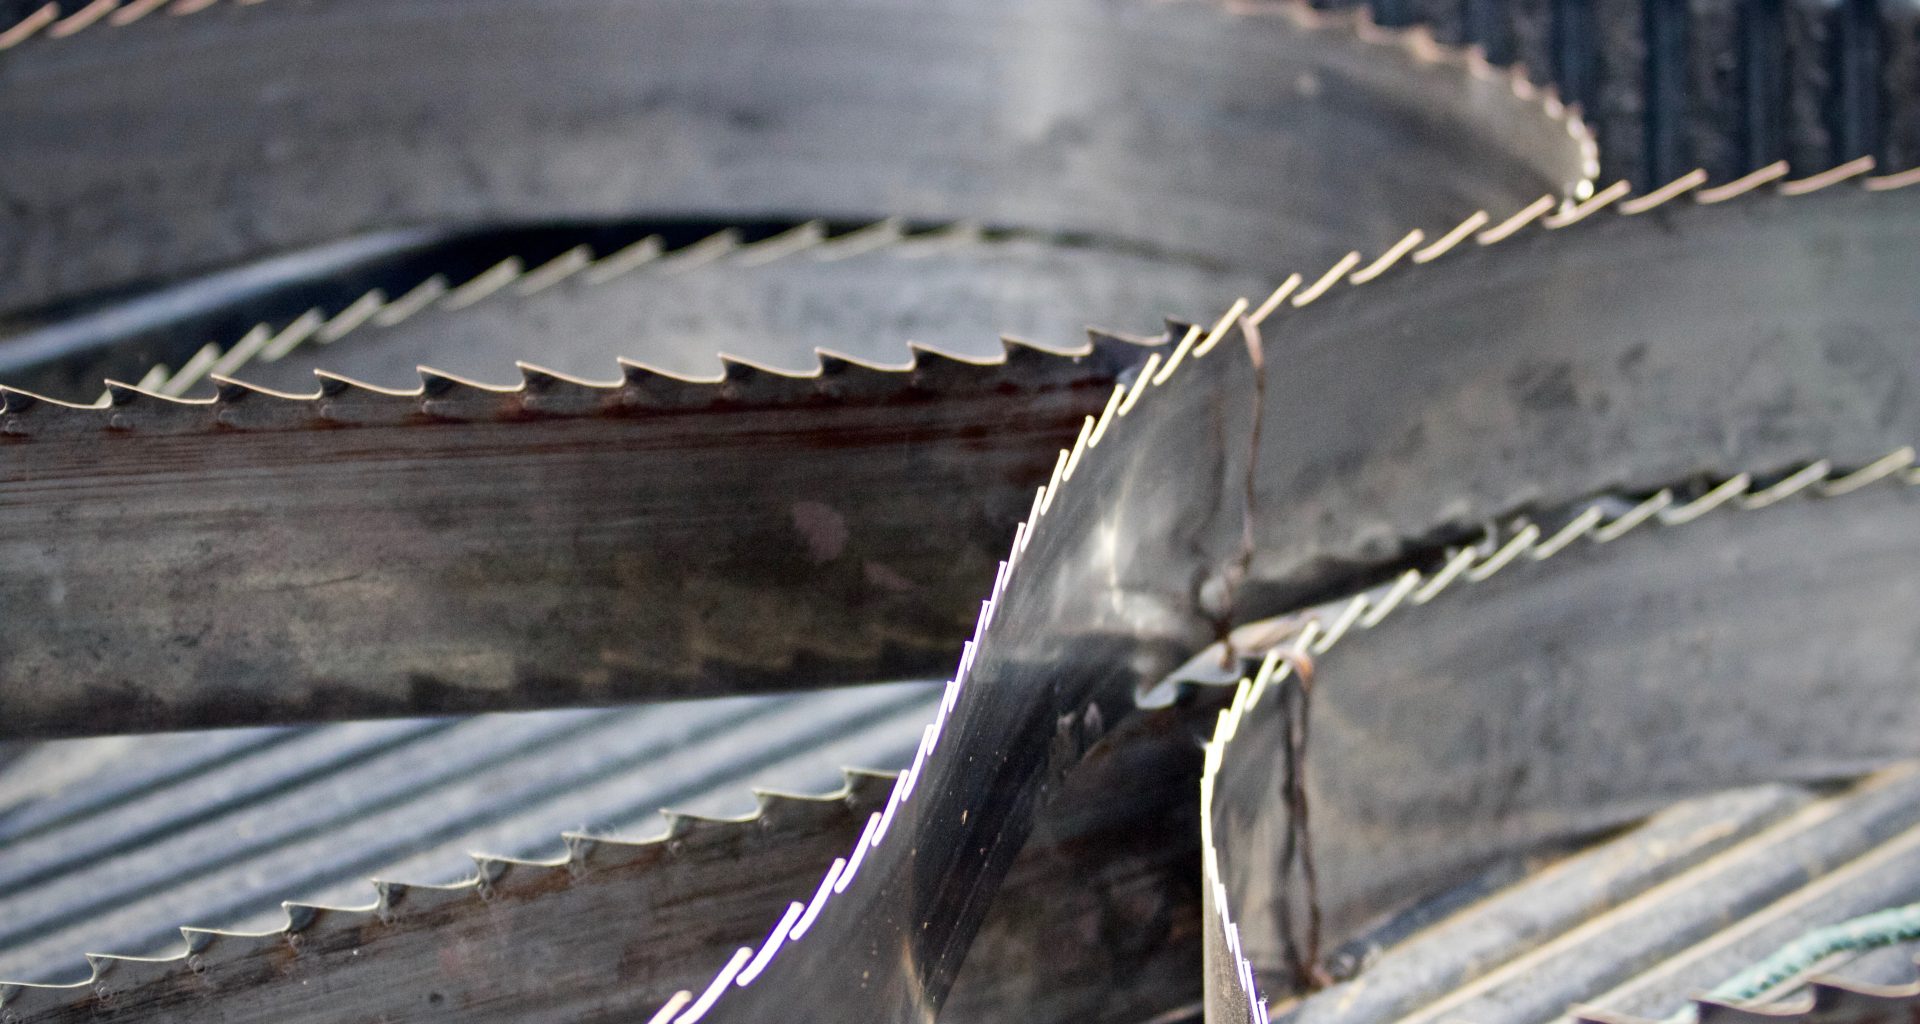
Bandsaw blade problems
The number one issue users have with their benchtop bandsaw is blade drift. This commonly occurs due to the use of an incorrect blade. You don’t want to use a blade that has any more than 3 teeth per inch. It doesn’t matter what your task or project is it is important to keep it below 3 teeth per inch.
If the gullet (the gap between the teeth) is too fine it will pack with woodchips and resist the cut. When it resists cutting it twists due to the pressure thus causing blade drift. The same thing happens with a dull blade as it isn’t able to bite into the wood. If you have blade drift symptoms check that you’re not using the wrong type of blade or a dull blade.
You have found your bandsaw problem and know you need to change your blade. We have put together a comprehensive guide to how to change your bandsaw blade.
Steps to change a bandsaw blade
Step 1 – Unplug and clean up
First of all, make sure your saw is off and unplug it from the socket. This makes sure that it can’t accidentally be turned on whilst changing the blade. Remove all tools from the table, including miter and rip fence attachments.
Use a shop vac to clean the area of sawdust or other loose materials to make sure they don’t end up on the wheels.
Step 2 – Move blade guards
Retract all of the blade guides or blade rollers and pull away the blocks from the blade. Move back the thrust bearing away from the blade as well. With everything now clear of the blade you can move the blade guard assembly up as high as it will go.
When in normal use the blade guard should be as close to the stock as possible without causing interference. To move the blade guard, unwind the knob at the rear of the blade guard assembly and slide it upwards, then retighten to stop it falling. Repeat steps with the lower guard if applicable.
Step 3 – Table adjustments
To be able to replace your bandsaw blade you need to be able to slide it out from the middle of the table. Remove the throat plate that surrounds the saw blade and put it to the side. Next, remove the table pin, used to keep the table aligned. A pair of pliers may be required.
Step 4 – Access bandsaw wheels
Open up both the top and bottom cabinets that cover the wheels. Make sure that any dust or woodchips are cleared away using a brush and shop vac.
Loosen the bandsaw tension by turning the top tension knob until the blade begins to become loose. Then do the same on for the bottom tension knob. The blade should be fully loose now so be careful that it doesn’t fall off the wheels and cut you.
Step 5 – Change bandsaw blade
With everything clear from the blade, you can now safely remove it using gloves. Bandsaw blades are large and difficult to manage, twist carefully in a coil, secure with tape, and put it aside.
It is a great chance to check the surface of the wheels for sawdust or damage. Use a brush and shop vac to remove any excess. We want a smooth tire with no sawdust that may restrict the saw blade or through it off-center.
Now replace it with your new blade. Carefully remove from its packaging making sure it doesn’t spring open at you. Fit it around the wheels and between the blade guards.
Step 6 – Tension and center the blade
With the new blade sitting on the wheels adjust the tracking to make sure it is correctly aligned. The blade must be running along the center of the upper wheel, so adjust the crank for the upper wheel until it is tracking perfectly.
Setting the correct tension requires a bit of testing as some machines will require different values than others. Medium tension is a good place to start if your bandsaw has a scale. Once the tension has been set you can test by pushing against the blade and seeing how much flex can be achieved. We recommend about a quarter of an inch in movement. Finally, give the top wheel a spin to check the tracking again.
Step 7 – Adjust settings
Next, move your blade guides back into position and set the blocks or rollers into the correct positions next to the blade. Tighten into the correct position with the thumbscrew. It is recommended to check your manufactures guidelines for this step as machines can vary in procedures. Don’t forget to move both your top and bottom guides.
Now replace your table pin and throat plate, checking that your table is aligned at a right angle to the blade. Fit your rip fence and miter gauge if needed.
Step 8 – Test
With everything back in place, it is time to check that the blade is straight and there is no blade drift. Put on your safety equipment, plug in the machine, and turn it on. Using the blade adjustment knob, move the blade carefully to be just resting on the blocks or bearings. Now you should be ready to start cutting again carefully.
It’s always important to check in with your manufacture guidelines to check you haven’t missed a step as every machine will be slightly different.


1 comment
My sister shared that she was having trouble cleaning her bandsaw blade. I appreciate that this post reminded us that it is important for us to unplug the blade as well as to dismantle the parts properly and carefully. I think it would be best for her to seek professional advice to ensure that she dismantles and clean every part properly to prevent damages.