A Fall wreath is a great way to decorate doors inside and outside your house this Autumn. You might have already seen my article on how to decorate your front porch in a seasonal way. In this article, I mentioned using floral or plant arrangements to add interest to your porch. A wreath is a brilliant way to do this.
While you can go to stores like Home Depot or online to the likes of Amazon for a wreath, there’s nothing better than homemade. Plus, this can be a fun DIY project that you can get the whole family involved in if you want to. Check out the 5 easy steps to make a Fall wreath to decorate your door with!
Step 1 – Get Your Fall Wreath Materials
Before you begin making your wreath, you’ll need a few materials to get started. The basics are:
- A metal hoop or embroidery hoop in desired wreath size
- Wire cutters
- Sharp scissors (buy a new pair, or sharpen your usual pair)
- Ribbon in your preferred colour
- Hot glue gun
- Floral wire
Once you’ve got these together, you can move onto the next step.
Picking Your Fall Wreath Flowers And Leaves
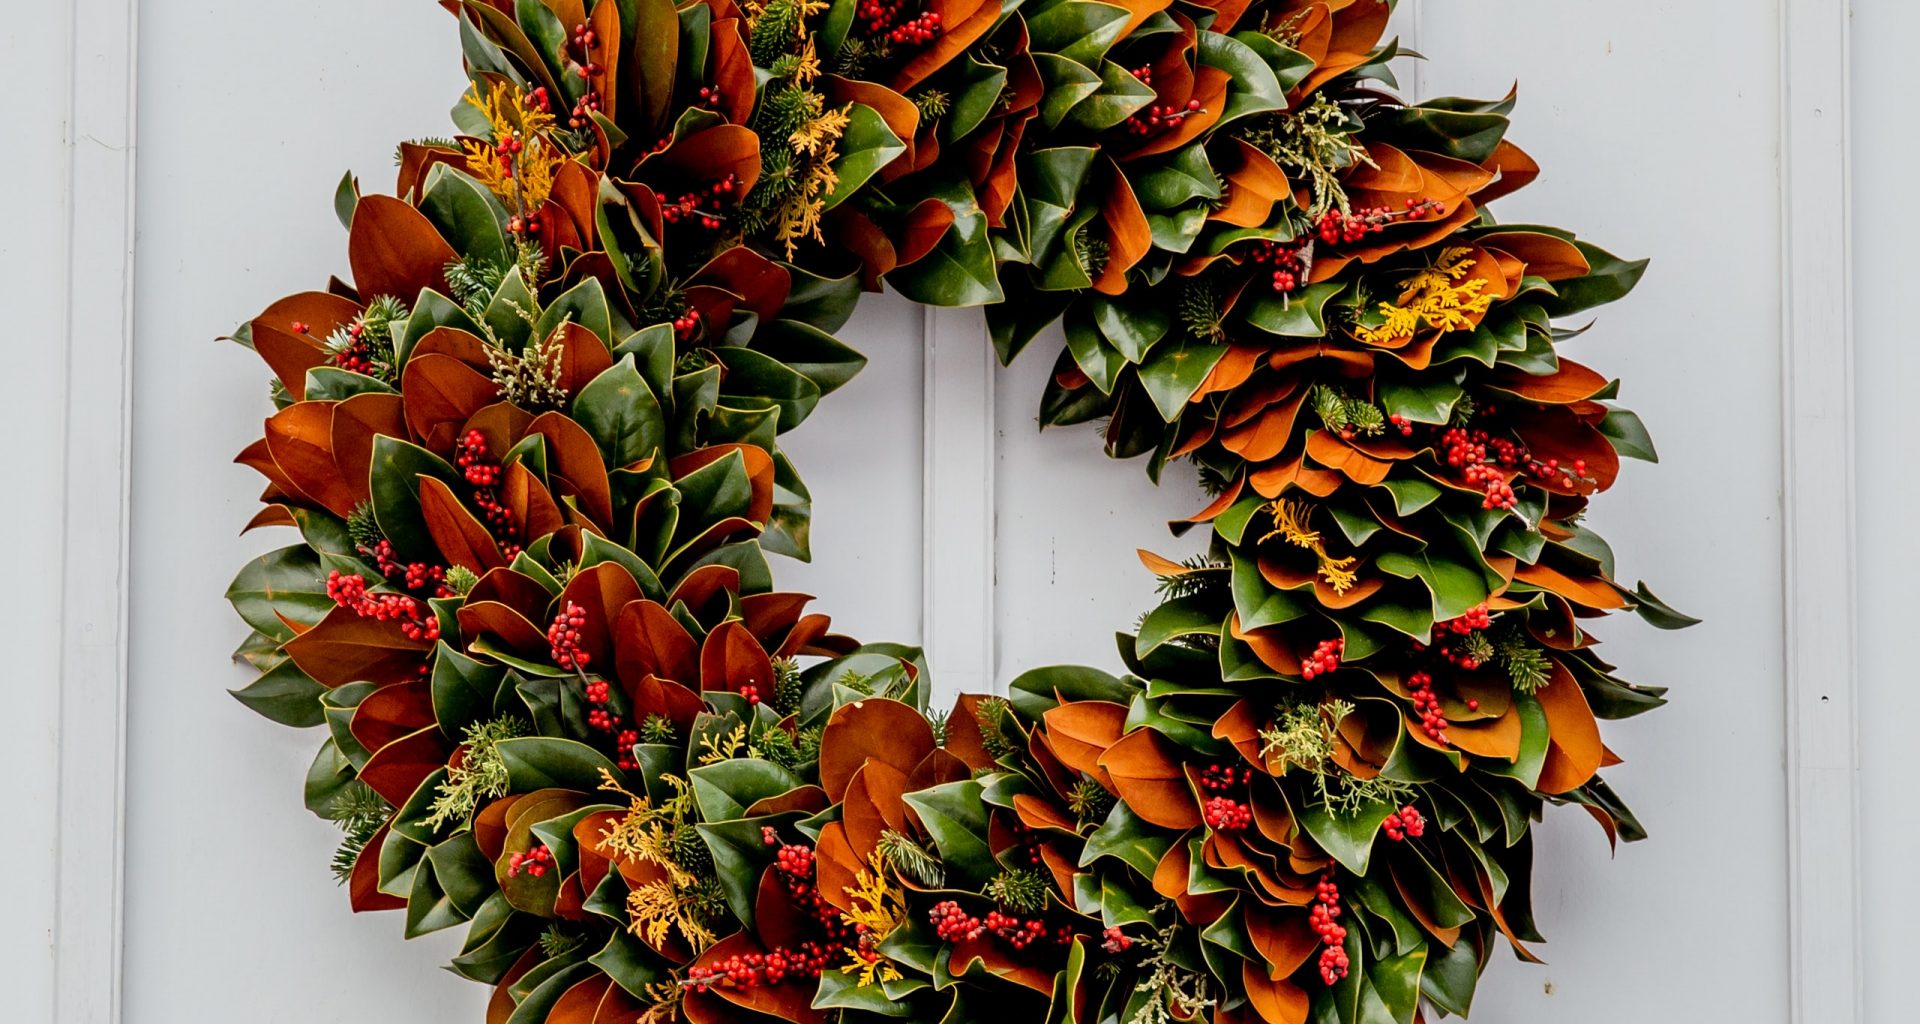
Picking your Fall wreath flowers and leaves is extremely important. This is where you get to decide the color scheme and aesthetic of your wreath. Think about the decor around the door you will hang it on: which colors do and don’t go well? Consider opting for colors that are fitting with the fall foliage aesthetic. For example, deep reds, oranges, and greens. If you want something more neutral, pick lighter-toned but cool shades. You have a lot of freedom here, so pick what you like the look of most!
How big and full you want your wreath will determine the amount of flowers and leaves you need. For a half-wreath you’ll typically need a couple of pieces of greenery, 3 or 4 flowers, and also a single flower or other decorative item for the center. Otherwise, you also have a lot of freedom to choose in this area. You can get these items from a local craft store in faux form, a florist, or even from your garden.
Step 2 – Cut And Arrange
Once you’ve got your materials and flowers together, you can begin the arranging process. Trim your flower and leaf stems with your scissors. Remove any extra or wilted leaves that will get in the way of your arrangement. You don’t need the stems super long, so don’t be afraid to trim some off. This makes sure your flowers and leaves are the correct size to add to your Fall wreath.

Once trimmed, begin arranging your flowers and leaves around the hoop. Play with different arrangements to get the look you want. This may cover the whole hoop, or only part.
Step 3 – Attach Flowers And Leaves To Your Hoop
After trimming and finding the perfect arrangement for your Fall wreath, it’s time to set things into place. You can use the floral wire to wrap around the stems and hoop to attach them. If this isn’t quite holding up, some hot glue will do the trick. Equally, you can use either hot glue or wire if you find them sufficient on their own. Start with any flowers or foliage you want in the background.
Place the bolder blooms or leaves that you want to stand out in front of the filler foliage you’ve already stuck on. Try to use hot glue to stick this top layer, as you can also hide the wire holding the other foliage underneath.
Step 4 – Finishing Touches
When you’ve arranged and secured all of your flowers and foliage, it’s time to add the finishing touches to your Fall wreath. You will have either picked a bigger flower for the main centerpiece, or another decorative item. If you’re going for a more spooky Halloween look, this could instead be a little plastic or wooden skeleton, ghost, or spider. If you’ve gone for a full wreath, you could also have several of these to dot around.

Place these decorative items or bigger flowers in their desired location, and secure with hot glue as well. Ribbon can be used as an additional feature, or to also secure leaves on and cover floral wire.
Step 5 – Display Your Fall Wreath
Now you’ve finished your Fall wreath, you can display it! Find the perfect location to hang it, whether it’s on a front door, internal door, or even a wall from a picture hook. Whatever your color scheme, wreath type, or location, it’s sure to be a great Fall feature for your home. It’s also a great way to kick-start your wider seasonal decor in your house if you want!