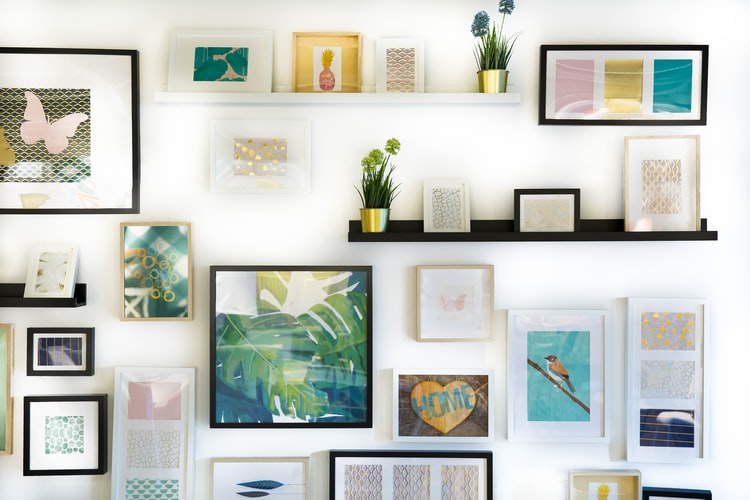
Learning how to hang picture frames whilst avoiding damaging walls is an important DIY skill. However, a lot of people don’t know how to do it. If you want to decorate your walls with prints, art, or photography then you’ll need to know how to hang them properly. Picture frames are an easy way to brighten up your decor and add a bit of personality to your space.
It’s actually quite simple to hang picture frames, provided you plan ahead a little. In this article, I take you through the 3 easy steps which go into hanging picture frames. There are some essential top tips to learn if you want to hang your pictures properly. Read on to find out more!
Step 1 – Prepare To Hang Picture Frames
Preparation is key when with DIY, and hanging picture frames is no exception! There are a few things you’ll need to do before you jump in.
Tools For Hanging Picture Frames
First, you’ll need the right tools. Get a straight edge ruler and a spirit level, so you can hang your picture in the right position. You’ll also need a pencil to mark the wall where you want to hang the frame.
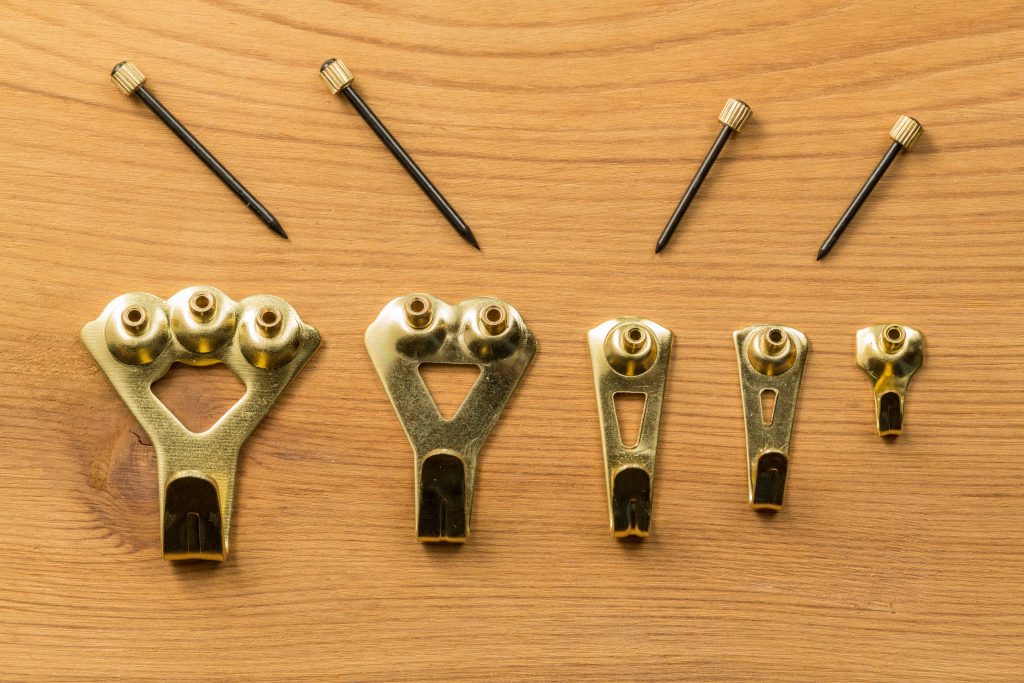
Picture hanging kits are available in hardware stores, so get one of those as well. The majority of frames will only require a nail, and maybe a bracket or picture hook. All of these are simple to hang and inexpensive. A small hammer will do the job. However, you can also get plastic hooks, usually called Command Strips, which can be a brilliant damage-free alternative if used correctly.
Space And Measurement
Once you’ve got the right tools, finding the correct space and measurement is the next important part of hanging picture frames. Think about where the picture would look good, the type of wall you’re putting it on, and what it will add to the interior design of your space. Hanging at eye level is a great way to make picture frames stand out whilst still fitting into your decor. Use your straight edge ruler and spirit level to find the right spot for the hook and mark it with a pencil.

One top tip is to use a sheet of paper or cardboard the same size as the picture you’re hanging to see where it would look good. You can also hold this up when mounting the hook to ensure you get it in the right place.
Find The Studs
This isn’t important for most small and light frames, but if you have bigger or expensive artwork, get a stud finder. You can also find them yourself, but it’s a bit more complicated. This will ensure the hook placement is strong enough to carry your frames whilst avoiding damaging the walls. Whilst it’s always good to find studs when hanging picture frames, don’t worry so much if you’re only hanging small or light pieces.
Step 2 – Attach The Hardwear
Next, you’ll need to attach the picture hooks. Be careful with this step, as you don’t want to get it wrong!
Metal Picture Hooks
Metal picture hooks with picture brackets should be hung carefully. Hold up your piece of paper or card to check you’ve got the right positioning. Once this is correct, line up the nail with the marking you made earlier. Gently tap the nail into the wall with your small hammer, ensuring it is straight. Don’t hit it all the way in! If you’re using a bracket, make sure you follow the instructions on the packaging to put this on correctly.
Plastic Picture Hooks For Hanging Picture Frames
If you’re opting for plastic Command Strips instead of a metal hook to hang your picture frames, the process is a bit different. These plastic strips are brilliant for rental properties, however, they need to be used properly to avoid damaging walls.
Follow the same advice for lining up the picture and making sure it will be level. Once positioned correctly, pay attention to the manufacturer’s instructions to stick the hook or strip onto the wall properly. Easy!
Step 3 – Mount The Frame
Finally, you’re not ready to hang your picture. Simply hang it on the hook, nail, or command strip. Stand back and admire your work! If it’s not quite in the right position, don’t worry. You can remove the hook and hang it again. If this is the case, have some wall filler and paint on hand to cover any holes left over.


1 comment
It’s good to know that plastic hooks are still considered to be sturdy enough when hanging pictures. I’d like to hire picture hanging services soon because I’m interested in setting up a wall at home for family pictures. I think that having them in different sizes will make this task tricky.