Drilling can be confusing for even the most experienced person – as there are lots of different techniques that you should use on different materials. The way you drill stone, plastic, and metal are all very different. In this article we’ll go over how to approach drilling many common materials so you’ll get clean, precise holes every time.
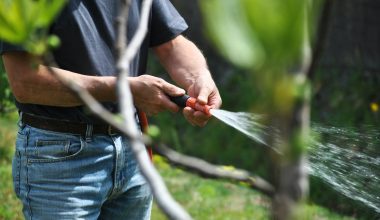
Concrete & Masonry
Drilling into concrete, masonry and brick is surprisingly common when people find themselves making shelves in their home. Drilling concrete is a little bit different to other materials though, and there’s a few tricks to keeping your hole accurate.
First off, you’ll want to use a hammer drill if possible. On some drills, this is a setting you can enable, but it isn’t available on all drills. Hammer drills add additional rapid movement to the drill bit which helps it break up concrete. You’ll also want to ensure you’re using a masonry bit, rather than a regular drill bit.
First off, drill a pilot hole with a smaller drill bit than your final size. This will improve the accuracy of your final hole greatly. As you progress, move the drill in and out to clear material out of the hole.
Now you’re ready to use the final size drill bit. Again, progress steadily, moving the drill bit in and out to remove material. If you’re encountering a lot of resistance, you should stop and look into the hole. If you’re hitting tough stone or concrete, use a masonry nail to split the concrete up, and resume with your drill. If you’re seeing sparks, you’ve probably hit rebar and you’ll need to reach for a metal drill bit to clear the obstacle.
Once you’re finished, you should clear the hole using compressed air, as concrete dust can prevent your fixings from working properly.
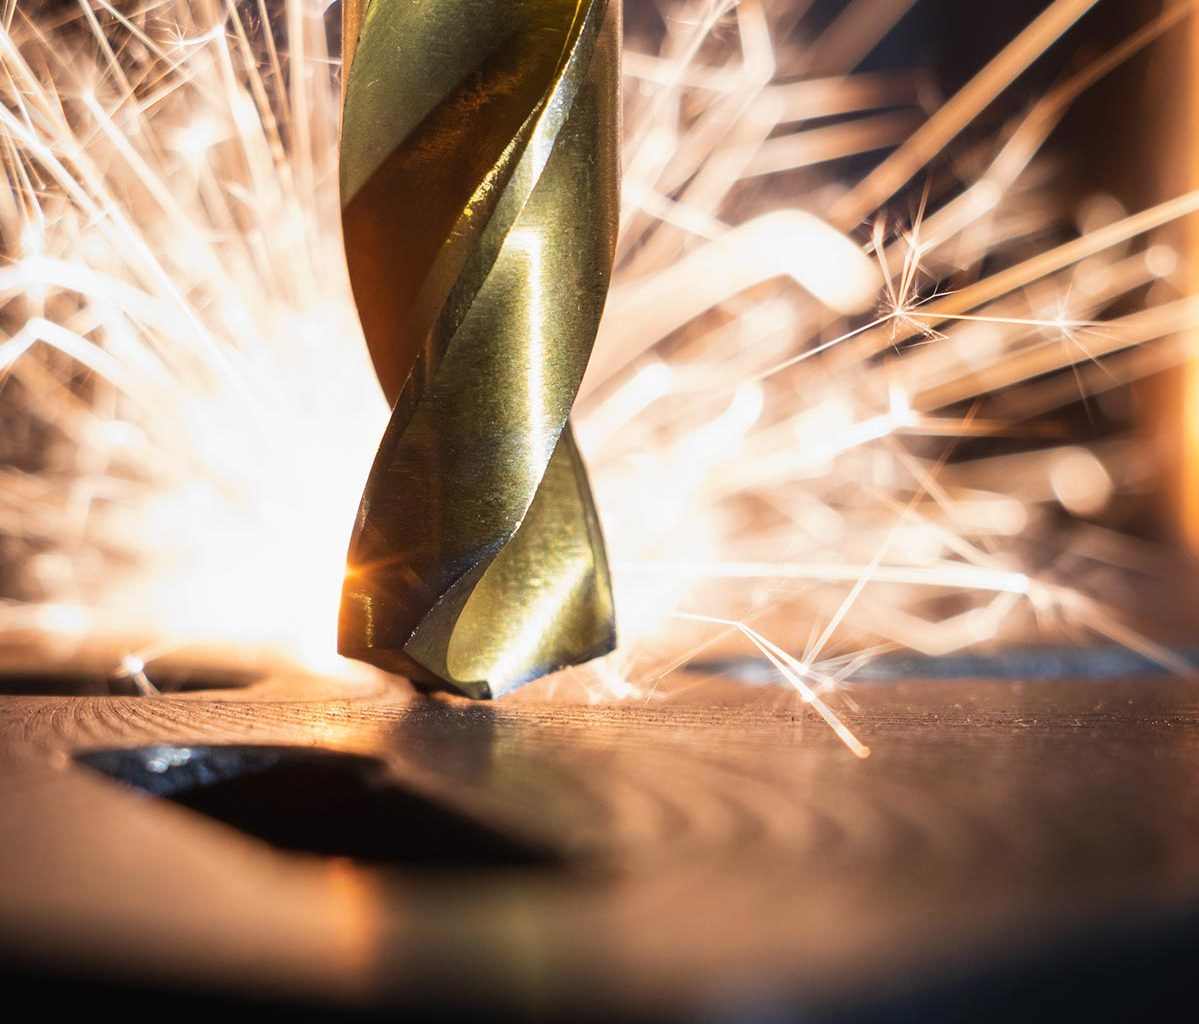
Drilling Metal
Drilling metal is another common task, but can be easy to get wrong and damage your drill bits. First off, ensure you’re using a proper cobalt-tipped metal drill, and if you can use a bench drill or drill press, that will certainly help. Make sure you have some lubricating oil nearby.
When drilling metal, the biggest mistake people make is drilling too fast, which caused the drill bit to overheat and either get stuck in the material or break. This can be avoided by first consulting a drilling table to ensure you use the correct drill speed and feed rate for your drill size and material.
Once you’re set the correct drill speed and feed rate, you need to use a punch and hammer to create a dimple. It’s very easy for drill bits to slide on metal, and cause your hole to begin out of position. Setting a dimple first will avoid this.
If you’re using a drill bit larger than 0.2”, we strongly suggest you drill a pilot hole first. This will allow you to feed faster with your final drill bit, and will greatly improve accuracy. Lubricate your drill bit with oil, then begin drilling with your pilot bit. Progress slowly, adding additional lubrication if required. Once finished, you can repeat the process with your final drill size.
Plastic
Plastic is by far the easiest material to drill. You can use any standard drill bit, but we do have a few pointers to make sure you end up with a clean and accurate hole.
First, make a dimple using a punch or bradawl before you start drilling. This will prevent drill wander, and keep the final hole accurate.
Second, briefly consider which side of the material is your “neat” side – because you should drill into this side first. On the exit hole, you do occasionally get plastic distortions which can look unsightly.
Finally, use a high speed, and low feed rate. If possible, support the drill piece with a sacrificial piece of MDF or plastic, which will ensure you have a nice clean exit hole.
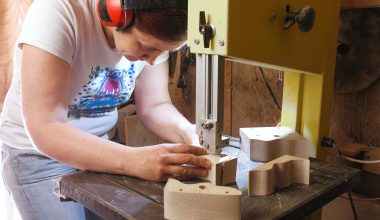
Wood
Wood is also a very simple material to drill, if you are aware of a couple of pointers. Although unconventional, we always recommend adding a dimple to wood using a bradawl in order to ensure accuracy.
To maintain the cleanest exit hole possible, you should also support the wood from underneath with another piece of wood you don’t mind drilling into. This will prevent the wood from splintering, which can occur if your exit hole is left unsupported. For extra security, you can also clamp the two pieces of wood together.
You should drill wood with a high speed, and moderate feed rate. For large diameter or deep holes, pay close attention to the drill temperature. If the drill gets hot it can leave burn marks on the wood, so best to progress slowly and let the drill cool off if necessary.
Ceramic Tile
Drilling ceramic tiles is much easier than drilling porcelain tiles which we’ll cover below. Ceramic tiles need to be drilled using a carbide-tipped masonry bit, you can’t just use a normal drill bit for this material.
To help to hold the tile surface together, and to make it easier to mark, we recommend placing a tape X mark over the location of the hole. You can then mark onto the tape with a pen. Create a dimple using a punch, with a very light tap of the hammer, just to break through the surface of the glaze layer on the tile.
Now you’re ready to start drilling. You should use a moderate-slow speed, and a regular drill function – do not use a hammer setting for tiles. Maintain a steady pressure, and you should be able to work your way through the tile with relative easy.
Glass & Porcelain Tiles
Glass and porcelain tiles can be a bit more troublesome to drill, because they are so hard. If you’re in any way uneasy, we recommend you employ and expert to do the job for you, not least because you’ll need a specialist drill bit – your regular masonry or SDS drill bit won’t do it.
To drill these materials, you’ll need a diamond-tipped bit, which has an unusual cylindrical shape to it. As you would with other tiles, we recommend you begin by taping an X to the wall first, to enable to you mark your hole using a pen.
When you’re ready to start, you should use a low drill speed and hold the drill against the hole at a 45-degree angle. Once the bit has taken, you can start to slowly level the drill to right angles with the tile surface. After you have established a good initial hole, you can begin to speed up to a medium-slow speed and continue in the usual way.