When it comes to window cleaning, you probably think it’s a tedious job for very little gain, but getting a clean finish is key to making your home look like it’s in good care. If not, murky spots and dust start to appear, which can be just a bit off-putting to any visitors or neighbors. Whilst you may not realize it, having dirty windows is quite a distraction for the rest of your home, so you need to make sure you’re cleaning your windows properly.
Anyhow, no need to panic, as you’re about to get an insight into window cleaning 101. Getting a shiny finish with some spray is a good start, but it won’t cut it for a proper clean. It’s key to remember that it’s not just about cleaning the window panes, as both your window sills and window tracks (the material in between the panes and the window frame) are just as important.
This guide takes you through a step-by-step process on how you can enhance your window cleaning to really make a difference in your home. Not only will it take you through the basics, but you’ll also know how to effectively clean your sills and tracks in no time. This guide applies to both indoor and outdoor window cleaning, making sure you have everything you need to know.
On This Page
The basics To Clean Windows
Before we begin, here’s what you’ll need:
- A good old Squeegee
- Bucket of warm, mildly soapy water
- Microfiber cloth
- Small brush or vacuum
- Window cleaning spray
First off, make sure you haven’t got any rain due, as this will ruin your cleaning plans. If it’s a dry, sunny day then you have the green light, so you can get started. Pull back any curtains as far as possible too-you don’t want to soak them in cleaning spray!
Getting started
For interior window cleaning, start with a spare cloth or duster and dust in and around the window. Start with any blinds, gently brushing back and forth along each blind. Whilst this might seem tedious if you don’t bother then dust starts to fall off, making your windows even dirtier.
Once done, brush any dust or dirt from the window sill, open the window, and dust around the tracks. This prevents any wet dirt from accumulating and streaks are less likely. Once this is done, you’re good to get spraying.
Cleaning your windows
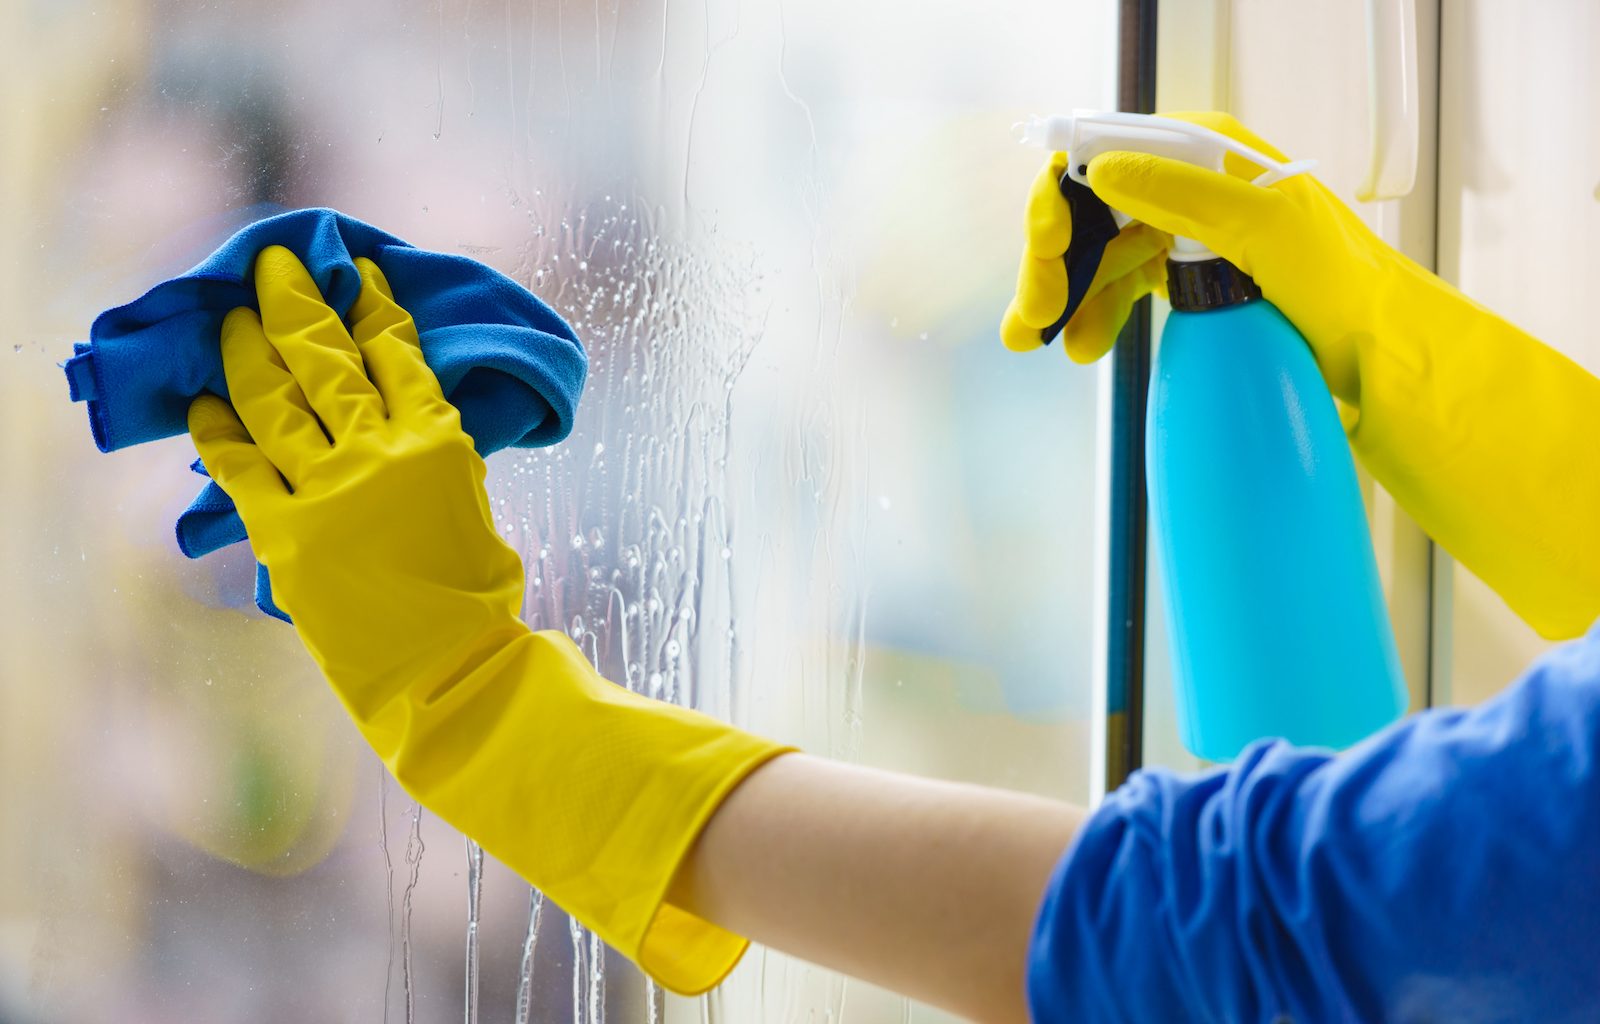
Start by taking your cloth or sponge and drenching it in soapy water, squeezing water out afterward, avoiding spillage (unless outside). Simply use your cloth or sponge to wipe the window panes down, really soaking them and getting water into the corners of the window. Do this in a circular motion for maximum effect.
Once you’ve washed the windows, spray some cleaner onto the panes and the window itself starting from the top, allowing it to make its way down. After plenty is on and the window is covered, let it rest for a few minutes. The moment you feel it’s set onto the window, take your squeegee and wipe downwards in an S motion.
Cleaning Even Deeper
By making sure you clean your tracks and sills, you’re less likely to be needing to get out the bucket again for at least a few months. As well as this, your windows are less prone to degradation and molding.
Cleaning Window Sills
- Dust down or vacuum any excess dirt
- Grab your cloth and drench it in water, wiping down your entire window sill afterward, especially into the corners.
- Spray a few, but not huge amounts, some spray onto the sill but avoid spraying the corners. Leave to set.
- Use a fresh cloth to wipe down, taking care around the corners-you don’t want to ruin any wallpaper if you have some.
Cleaning Window Tracks
- Open your window as wide as possible.
- As with window sills, wipe down your tracks and really get into the material, but use a sponge if you have one to make this easier.
- Spray cleaning fluid onto the bottom, side, and top tracks-as well as the track in between the frame and the window.
- Leave for longer than usual, making sure fluid seeps into the material.
- Wipe down
Once done, your windows will look good as new.
Tips And Tricks To Clean Windows
- Do your window sills last-dirt from tracks or panes may fall when dusting.
- Don’t use too much soap-this can cause streaks.
- When using vinegar don’t use apple cider-this is a big NO for a clean finish.
- Touch the sides/corners with your squeegee for maximum cleanliness.
- For outdoor cleaning, the same principles apply-but ideally use an arm-extended squeegee.


