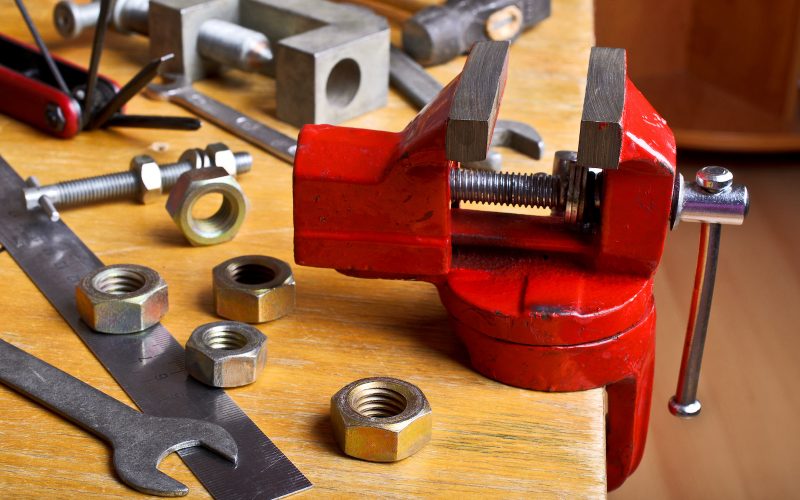
Mounting a bench vise is not hard and only takes a few minutes. Plus, by adding one of these tools, you will be able to work much more efficiently. They are very helpful to have on hand for woodworking and metalworking, so you can be sure they will get a lot of use in your workspace.
These are all of the steps to mounting a bench vise. It will probably only take between 10 and 15 minutes to complete, so let’s get started.
What You Need To Mount A Bench Vise
First, you are going to need to have your bench vise and all of the parts it comes with. It should include bolts, washers, lock washers, and nuts. Once you have all of those, the following are the tools that you will need:
Tools
- Wrench
- Socket
- Drill bit
- Cordless drill
- And a pencil
Now that you have all of the needed materials, you are ready to begin. If your model came with instructions, it would be a good idea to look them over. Some brands require you to take slightly different steps than others, but most will follow similar steps.
Mounting Your Bench Vise
Step 1
First, measure where you need to place the mounting holes and mark them with your pencil. You can do this by placing the vise where you want to mount it, then marking where the holes are.
If your vise comes with a mounting template, you can use this instead to determine where the holes will be. It is a good idea to make sure it lines up properly with your bench vise before you start the process, however.
As a note, if you are right handed, you will probably prefer your bench vise to be mounted on the right corner of your bench. For left handed people, you would likely have an easier time using the left corner.
Step 2
Next, you are going to want to choose the correct size of drill bit. Drill out the holes you marked with your pencil. Depending on the material of your table, you will need to be more careful. Softer materials might splinter, so you do not want to push too hard. If that happens, you can sand them down again to prevent someone from getting hurt in the splintered area.
Step 3
Now you check if the washers will fit. If they are too large, you can use a metal file to make them a bit smaller. Once you are sure they fit, align the vise with the holes. Then, set a bolt with a washer attached into all of the holes you drilled.
Step 4
Underneath the table, you will want to place a washer, one of your lock washers, and a nut on the back of each bolt. Tighten them as much as you can with your hands, so they will stay in place. Do this for all of your bolts.
Step 5
Finally, you will want to use a wrench that fits to tighten all of the bolts. You want them to be very tight, so the vise does not come loose while you are working. When you are done, go back and check that they are all secure, but not tight enough to damage your workbench.
Mount a Portable Bench Vise
If you are interested, there are also ways to use your bench vise wherever you need to. You would follow the same steps as above, with a few modifications. Instead of attaching the vise to your worktable, you would attach it to a solid base.
You will need it to be a thick, heavy piece of material. We recommend that you use a 12 x 12 inch square of wood so that you have enough room to work. Plus, this size ensures that the base is heavy enough to stay stable.
Keep in mind that it is best to attach the vise to your bench if you are going to be doing heavy-duty work. It will be kept much more secure when installed properly. Thanks to Instructables for this great advice.
Conclusion
Installing a bench vise to your workbench is simple. All you need to do is make sure you have all of the proper tools, then drill the holes in the right spots.
Once you have the vise mounted properly, you will be able to do all sorts of projects with it. You will wonder how you used to get by without one on hand. Be sure to reach out to us if you have any questions about getting your bench vise mounted.


