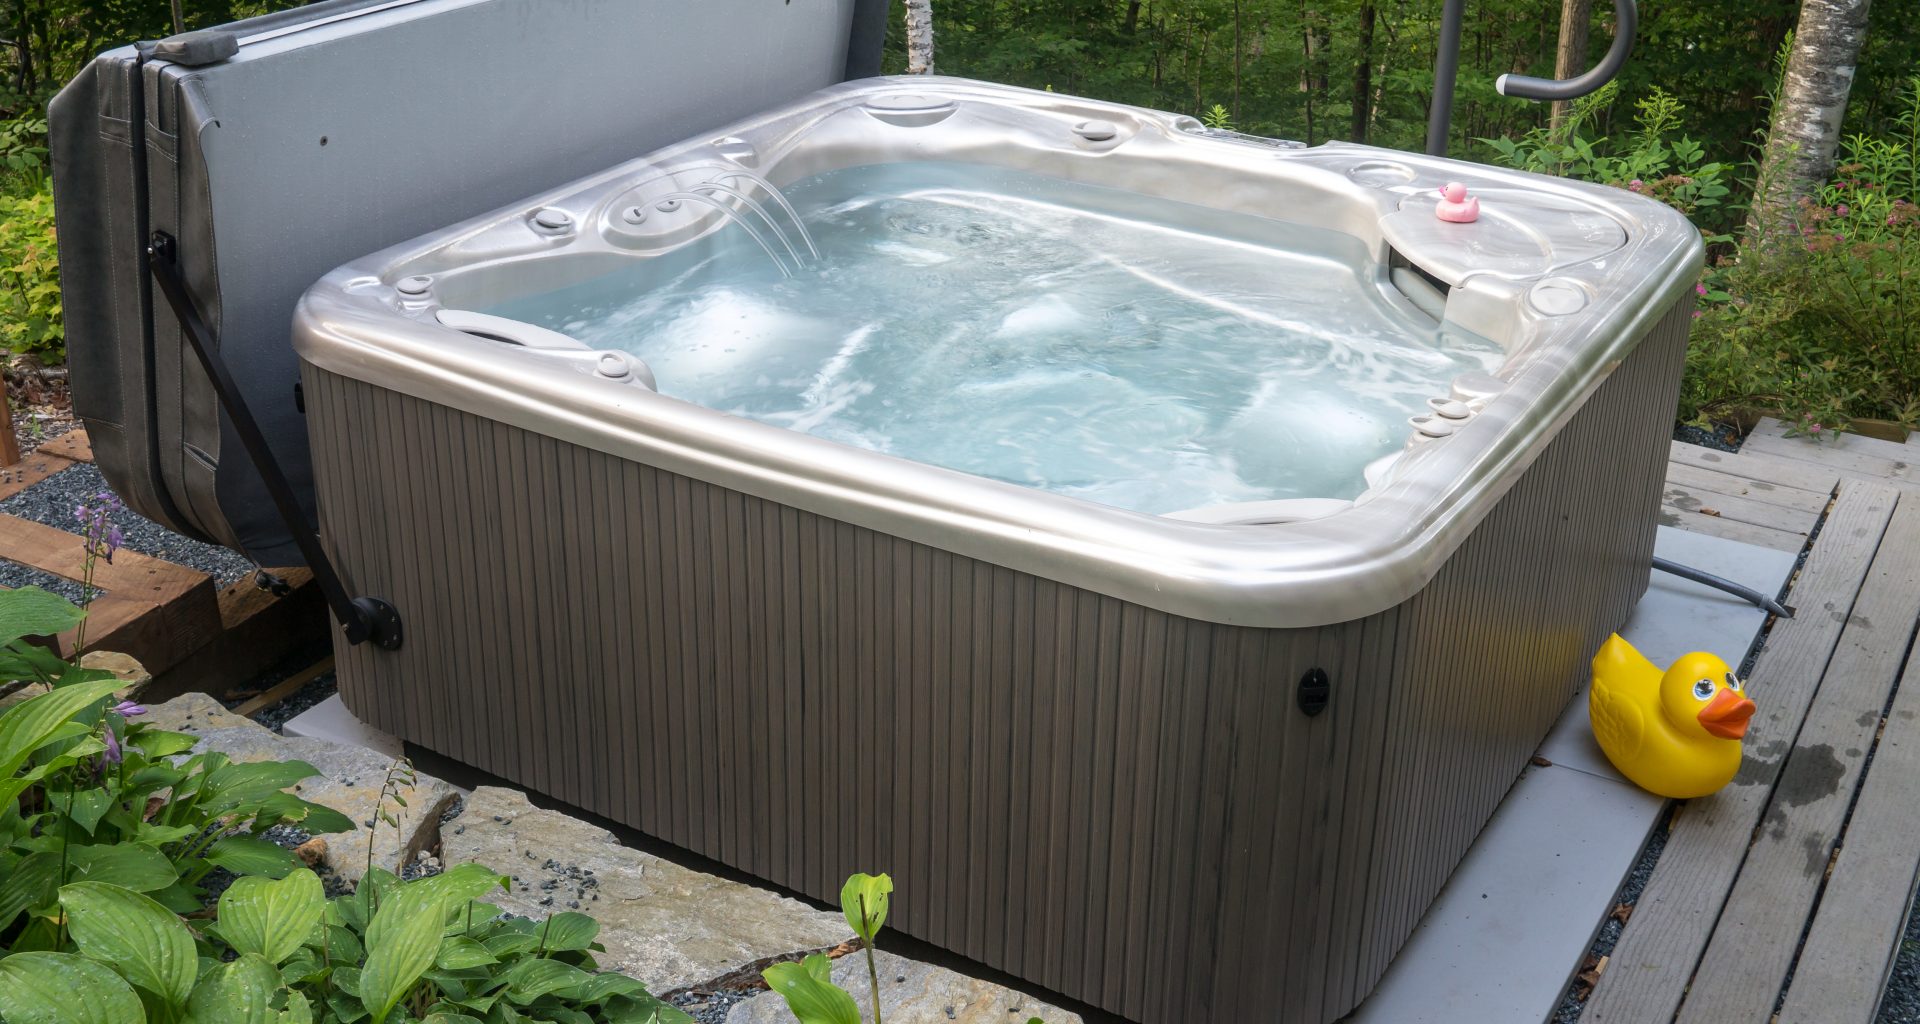
Keeping your hot tub clean can be a real pain. Since you can use hot tubs at any time of year, they need cleaning pretty often. Being like a big outdoor bath, they can harbor a lot of bacteria if not looked after properly. It’s this cleaning and maintenance that can take the fun away from hot tubs if it’s not done correctly.
For a proper hot tub clean, a simple debris removal won’t be enough. You’re going to need more than this. A full clean involves chemicals and also depends on what tub you have. Whilst this sounds a bit daunting, it’s not that bad once you know what to do.
Before we jump into the step-by-step guide, there’s a couple of general things to cover about tub cleaning. This is a concise guide, but it might be worth making some notes for when you’re out in the garden!
Types Of Hot Tub Cleaning
Before we jump into our cleaning guide, there’s a couple of different types of hot tub clean you should know. Firstly, you can have your standard net and wipe clean, but this doesn’t give you the best clean. To really get a good clean you need a chemical clean, but to do this, you need to consider your tub type.
There are a few different hot tub types. Natural (e.g. wooden) hot tubs, or inflatable, portable or in-ground tubs are the two broad types. They require slightly different cleaning regimes. If you are interested in getting a hot tub, you’ll to work out which type will be best for you.
Natural Tubs
Natural tubs are typically emptied after 2-3 uses, so chemicals aren’t usually required for cleaning and maintenance. Just make sure to follow the steps below without the chemical kit step for natural or wood-burner tubs.

Inflatable And In-Ground Tubs
Additionally, if you have an inflatable or in-ground tub, you’ll need a suitable chemical kit. There’s a bit more on this below, but you’ll need to follow the chemical kit step below for these tub types. The only thing to check is that your particular chemical kit won’t cause damage, so check its product description first. Chemicals that are too harsh or not designed for your tub type could damage the tub or its hardware.
Hot Tub Clean Chemical Kits
You might be thinking, bromine and chlorine kits, what are these? Well, very simply, a hot tub chemical kit typically consists of the following products for the following reasons:
- A pH balancer such as alkalinity or pH plus or minus to ensure the pH of the water is safe.
- Test strips to check the pH of the water.
- Granules: the main product which keeps your hot tub clean.
- Anti-foam solution to prevents the water from foaming up once your clean is done.
You might even get additional products such as sanitizer or algae cleaner too.
What Do Chemical Kits Do?
These kits provide you with a thorough chemical clean to keep your hot tub safe and usable. They’re perfect for long-term use. Most contain very similar things. However, their granules will either be chlorine or bromine, so you need to check before buying. Bromine granules are more expensive but are less irritable. Chlorine is more irritable but cleans better and is cheaper. It’s up to you what you use, but bromine chemical kits are better for sensitive skin compared to chlorine kits.
Chemicals For Inflatable Hot Tubs
Secondly, inflatable tubs are typically smaller, so the chemical quantities vary. You’ll need to take extra care with the chemical balance to make sure the water is safe. Inflatable tubs will also benefit more from bromine cleans rather than chlorine, as it is odorless and good for short-term use.
Now that’s covered, let’s jump into our guide for how to keep your hot tub clean all year round!
Step 1 – Drain The Tub
This is probably the most important step, as you can’t clean your tub if it’s full! There should be a release cap on your tub to empty it all out. Grab your hose, attach it to the tub and drain the water away into a drain.
You could just let it all out, but this will be toxic and damaging to your garden. So, if your tub doesn’t have a hose attachment for some reason, a submersible pump should work. You might need to buy one, but they go a long way in protecting your garden and effectively emptying water.
If you have a line flush, this will also help with removing surface dirt that isn’t overly visible. Add this to the tub prior to emptying and let it sit. Once it’s taken effect, drain the tub.
Step 2 – Spray And Wipe
Now the tub is emptied, your next step is to give it a good spray and a wipe down. Use a specific hot tub cleaning spray to do this. We recommend this as other generic sprays can damage your tub. Spray down the exterior and the interior surface of your tub and let it sit for at least 10 minutes.
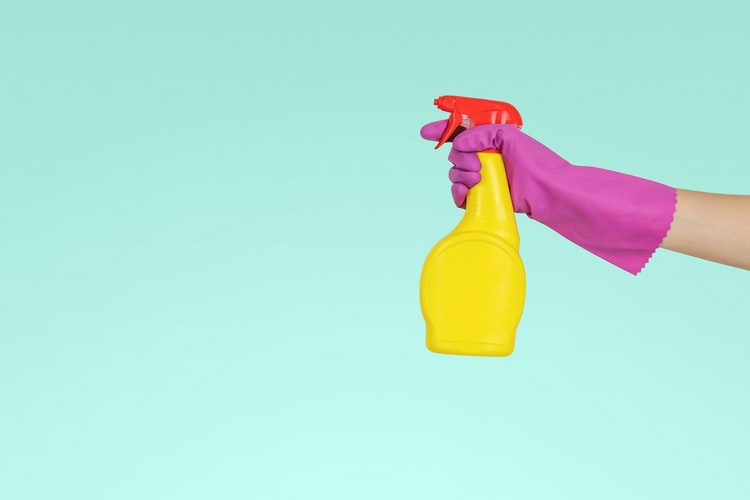
Once done, thoroughly wipe down your hot tub with a cloth or sponge. This will remove any excess dirt or grime that sets on the hot tub surface. Wash it down with a hose and dry with a towel, as any excess spray can alter the chemical balance.
Step 3 – Clean The Filter
Next up is your filter. Ensuring the tub has no excess water in, remove your filter from its slot and rinse it down briefly with water. Make sure you get into the gaps and remove as much debris as possible.
Spray the inside of the filter cabinet or container with your tub-specific spray and let it set. Wipe it down thoroughly to make sure you remove any dirt that got caught inside it. After this, let the filter soak in chlorine or oil-cutting solution to remove any dirt that isn’t easily visible. You can also use a pressure washer to clean your filters. If you have ceramic filters, these can often be put in the dishwasher in your kitchen. Check your manufacturer instructions for advice.
Once your filter is clean and dry, you can reinstall everything as normal. Ensure it is secure and fastened properly, as a loose filter will result in higher dirt buildup.
Step 4 – Clean Additional Dirt And Refill The Tub
Before you refill the tub, make sure any dirt or grime that hasn’t been collected is removed. If another spray and wipe won’t work, a simple cleaning solution (baking soda, vinegar, water) should do the trick. On top of this, a final spray down of the tub would go a long way in keeping it clean for longer.
Refilling Your Hot Tub
Once this is done, and you’re confident your tub is spotless, it’s time to refill. Let the water fill up to a suitable level and let it sit for an hour or so before you add any chemicals. Should there be any bits of unexpected debris, collect this with a net.
Step 5 – Add Chemicals To Keep Your Hot Tub Clean
The final step in a full hot tub clean is chemicals. As mentioned, this likely won’t be relevant for natural tubs, as you empty these pretty often anyway. With natural wooden tubs with burners, it’s important you maintain cleanliness, but you don’t need long-lasting chemical sanitization. For inflatable and in-ground tubs, however, they really are necessary for making your tub water last.
Getting The Chemicals Right In Your Hot Tub Clean
Once your tub is full, follow the steps in your chemical kit guide to sanitize the tub’s water. This will likely start with adding a certain amount of granules followed by pH balance. Test strips will allow you to get the water to a neutral pH, which is between 7.2-7.8.
If you have additional products, add these in now too before getting the final pH right. Once your chemicals are added and the pH is steady, wipe down the tub exterior again to remove any spillage. If there’s no more to add, then you’re good to go!
Tips And Tricks For A Perfect Hot Tub Clean
Now you know the main steps to clean your hot tub, there are a few extra tips that will help you get the perfect clean.
- Shock solution isn’t usually included with chemical kits, but it really helps with fighting micro-organism growth. If your tub is vulnerable to this, or if you have lots of algae build up, you should buy shock solution.
- Remove any large bits of debris with a net prior to draining the tub.
- Don’t use your hot tub for an hour (at least) after adding chemicals and check the pH before use. This is because pH will only be steady after an hour or so, and its important to check.
- For wood burner tubs, a wood-safe cleaning spray should be added every 2-3 cleans to prevent microbial build up.
