Introduction
Building a garden pond is a great DIY project. They’re a brilliant water feature to add some texture and excitement to your garden. Plus, they’re also good for the wildlife and you can use them to keep fish if you want to.
Ponds can be quite complicated, but there are a few ways to make the process a lot more simple. This guide tells you how to build a very basic pond which you can add more aspects to if you so wish. Read on to see how to build a garden pond in 5 easy steps!
What Do You Need?
You’ll need quite a few tools and materials for this project. So, they are as follows:
- Garden shovel and trowel
- Hose
- Wooden plank
- Pond liner
- Bricks
- Landscaping materials such as rocks and soil
- Spirit level
- Small pond pump or water features (optional)
Once you’ve got these materials, you can then get started!
Step 1 – Dig A Hole For Your Garden Pond
To make your pond, you’ll need a big hole in the ground. Use your shovel and trowel to mark out and dig an area that is appropriate for your pond. The measurements you use are entirely up to you.
Dig the sides straight down and make sure they are solid. Start smaller than you want your pond to be, and then dig outwards. It’s easier to dig out more than to fill an area back in! Make sure the pond is deeper in the middle and more shallow at the sides. If you’re planning to have fish, opt for a deeper pond with a larger area so they have plenty of space. Check if any pond plants you plan to include require a certain water depth as well to help guide your digging. Remove any rocks you find along the way, otherwise, they will tear the pond lining.
Picking A Garden Pond Location And Size
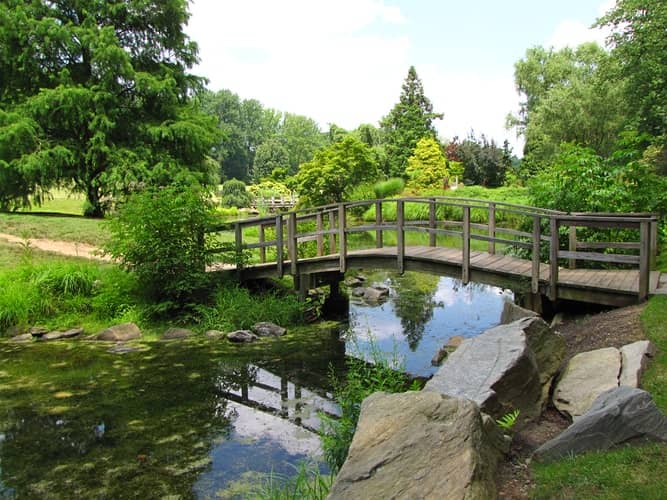
Before digging, you first need to pick where your pond will go and how big it will be. You need to consider the space you have, and what will look good. Something too small will look lost in the garden, and too big can take over the space. I recommend finding a location with some foliage around, tucked to one side of the garden so it isn’t in the way.
Step 2 – Line The Hole
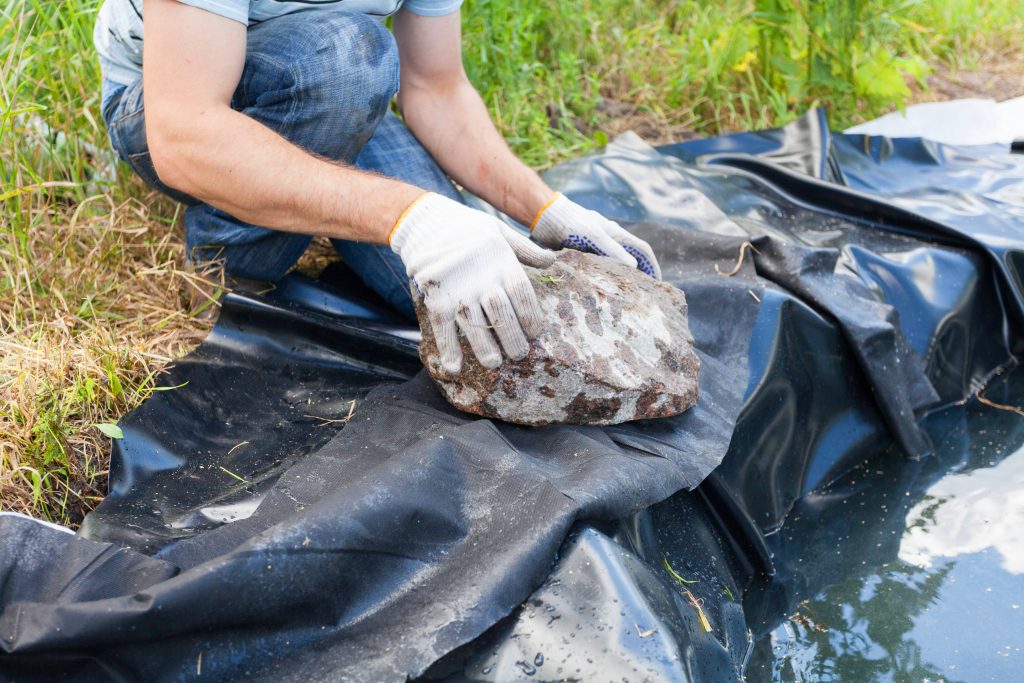
Next, you need to line the hole. Lay your liner of choice over the hole, draping it neatly to fill the space. You should have a large amount of liner spilling over the pond on all edges. Use bricks to hold the liner down around the edges of the pond.
Step 3 – Fill The Garden Pond
Once you’ve lined the pond, you can begin to fill it. Use your garden hose to fill the pond up until it is about half full. Fill it to a maximum of 2 inches from the top of the pond liner. You can adjust the liner as you do this to tidy it up. Once done, you can then tidy up the bricks around the edge to make a defined border. The bricks hide the edge of the liner so you can’t see it when the pond is filled and secured.
Step 4 – Secure The Edges
Now you’ve filled your pond, you can secure the edges. Before you do this, if you’re adding in any pumps or water features you need to work out the placement of them and the electrical cables. Make sure you can hide them well and test to check they’re working before you fill the pond in.
When this is done, use dirt to fill in the gaps between the bricks and cover the pond liner. Pack it down tightly using your shovel so it doesn’t move.
Step 5 – Finishing Touches To Your Garden Pond
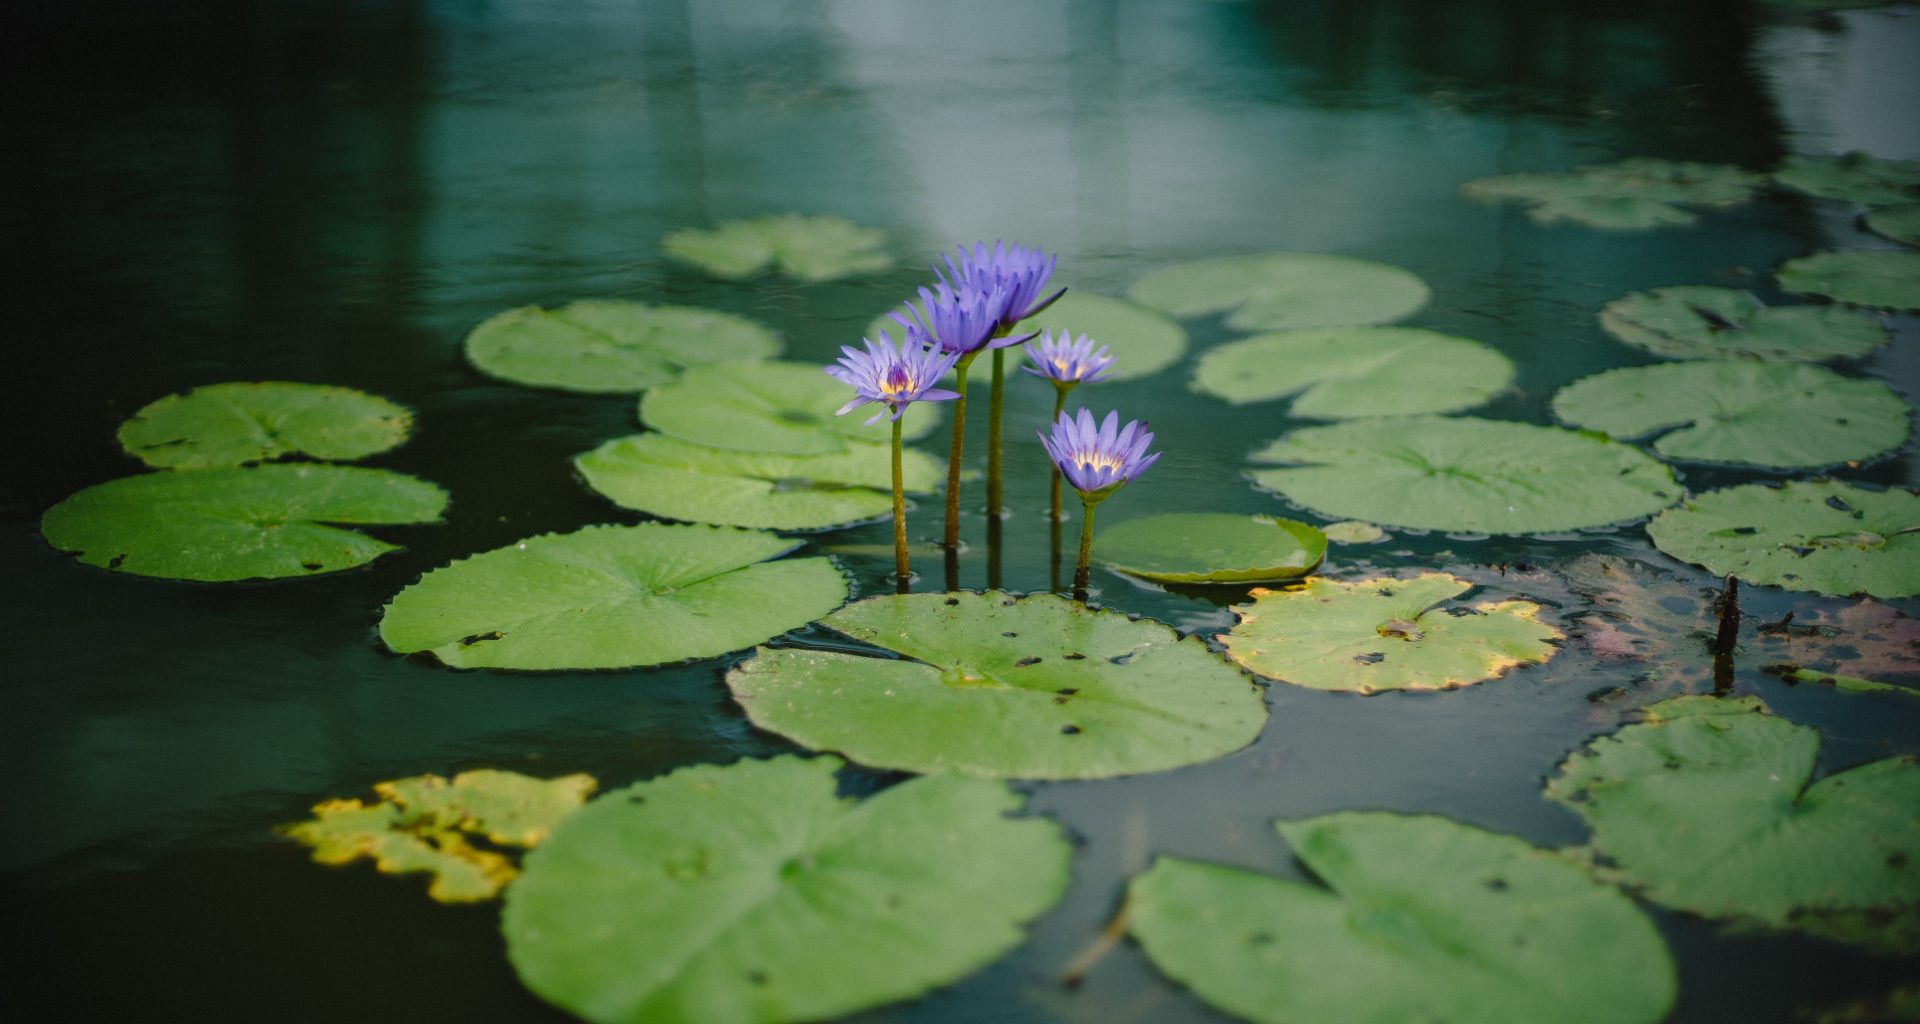
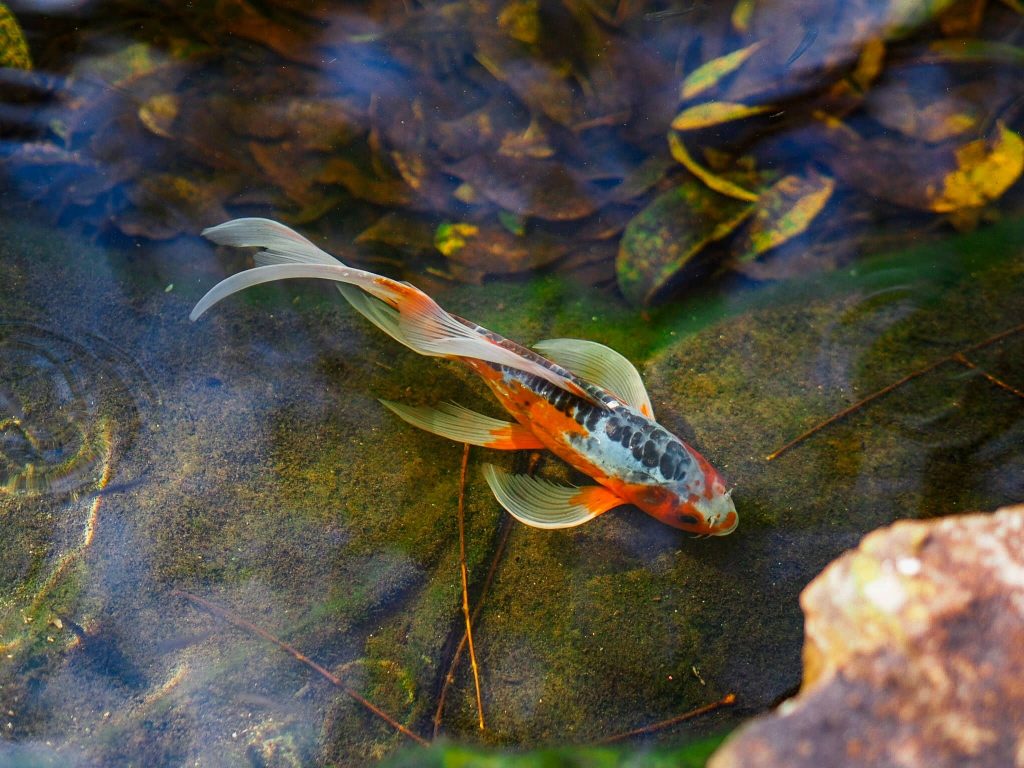
Once you’ve done all the main construction, you can add some finishing touches. You can pick some good ground cover plants or low hedging for around the area. There are also a large number of other plants great for pond areas. If you want to add fish, do your research about what will work with your space and climate first.
Conclusion
There you have it, a garden pond can be super easy to build yourself! They are a fun feature to have in your garden, and great if you want to have some fish or help the local wildlife. Why not check out some more of our outdoor DIY projects if you enjoyed this one?