Introduction
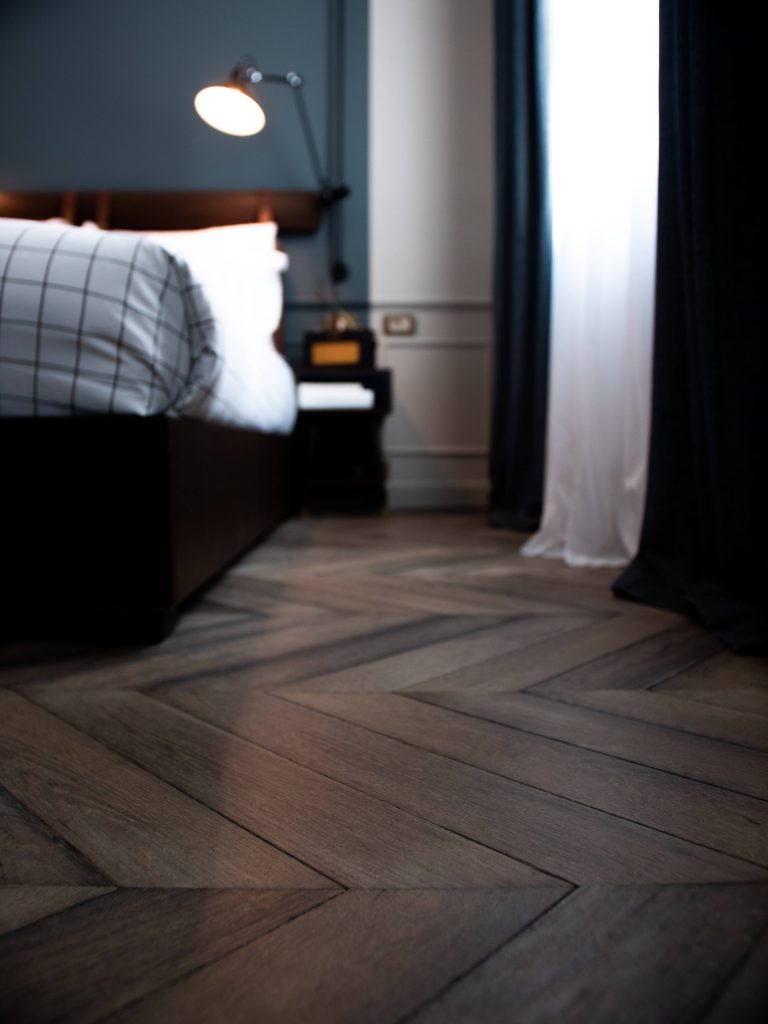
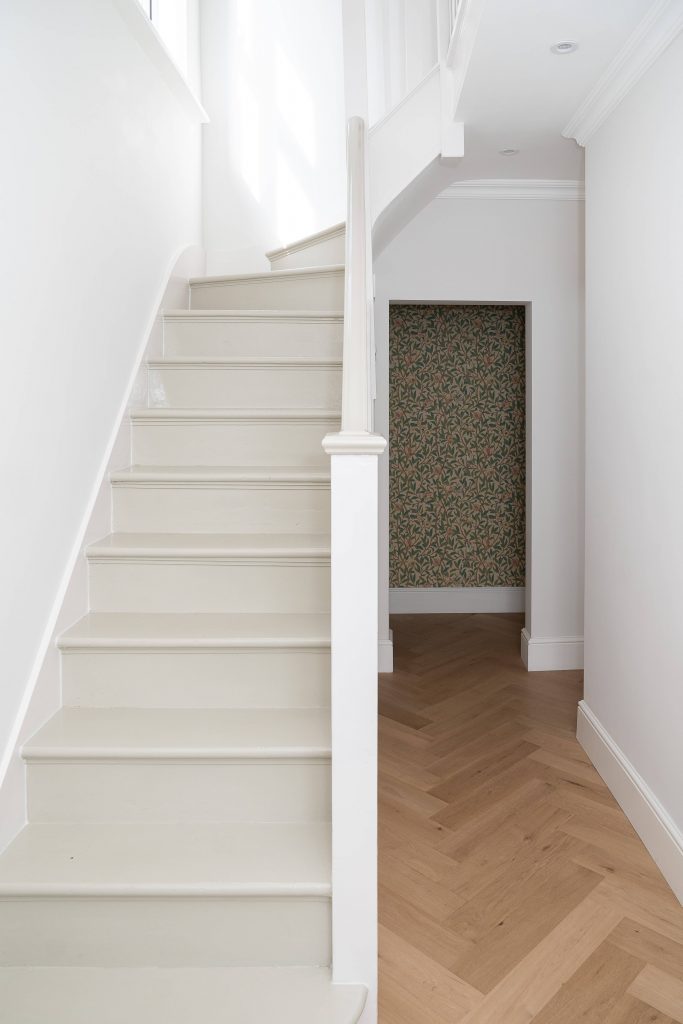
Herringbone flooring is increasingly popular in interior design. It is a classic style that fell out of Vogue for a number of years but is currently making a comeback. The perfect combination of classic meets modern trends, this type of flooring is a great feature for many houses. However, it can be expensive to buy and install.
Luckily, it is possible to do the installation part yourself. Although the materials will probably cost you quite a lot – hardwood is expensive, after all – you can save in other areas. In this article, I’ll explain the basics of how to install herringbone flooring yourself. This isn’t a completely comprehensive guide, but it’s a good place to start if you’re embarking on a flooring project at home.
Tools For Installing Herringbone Flooring
The first thing to do when installing herringbone flooring is to get your tools and materials together. You’ll likely need to consult an expert or someone at a DIY store to pick out your wood and work out how much to buy. This will depend on the area you have to cover and what type of wood you go for.
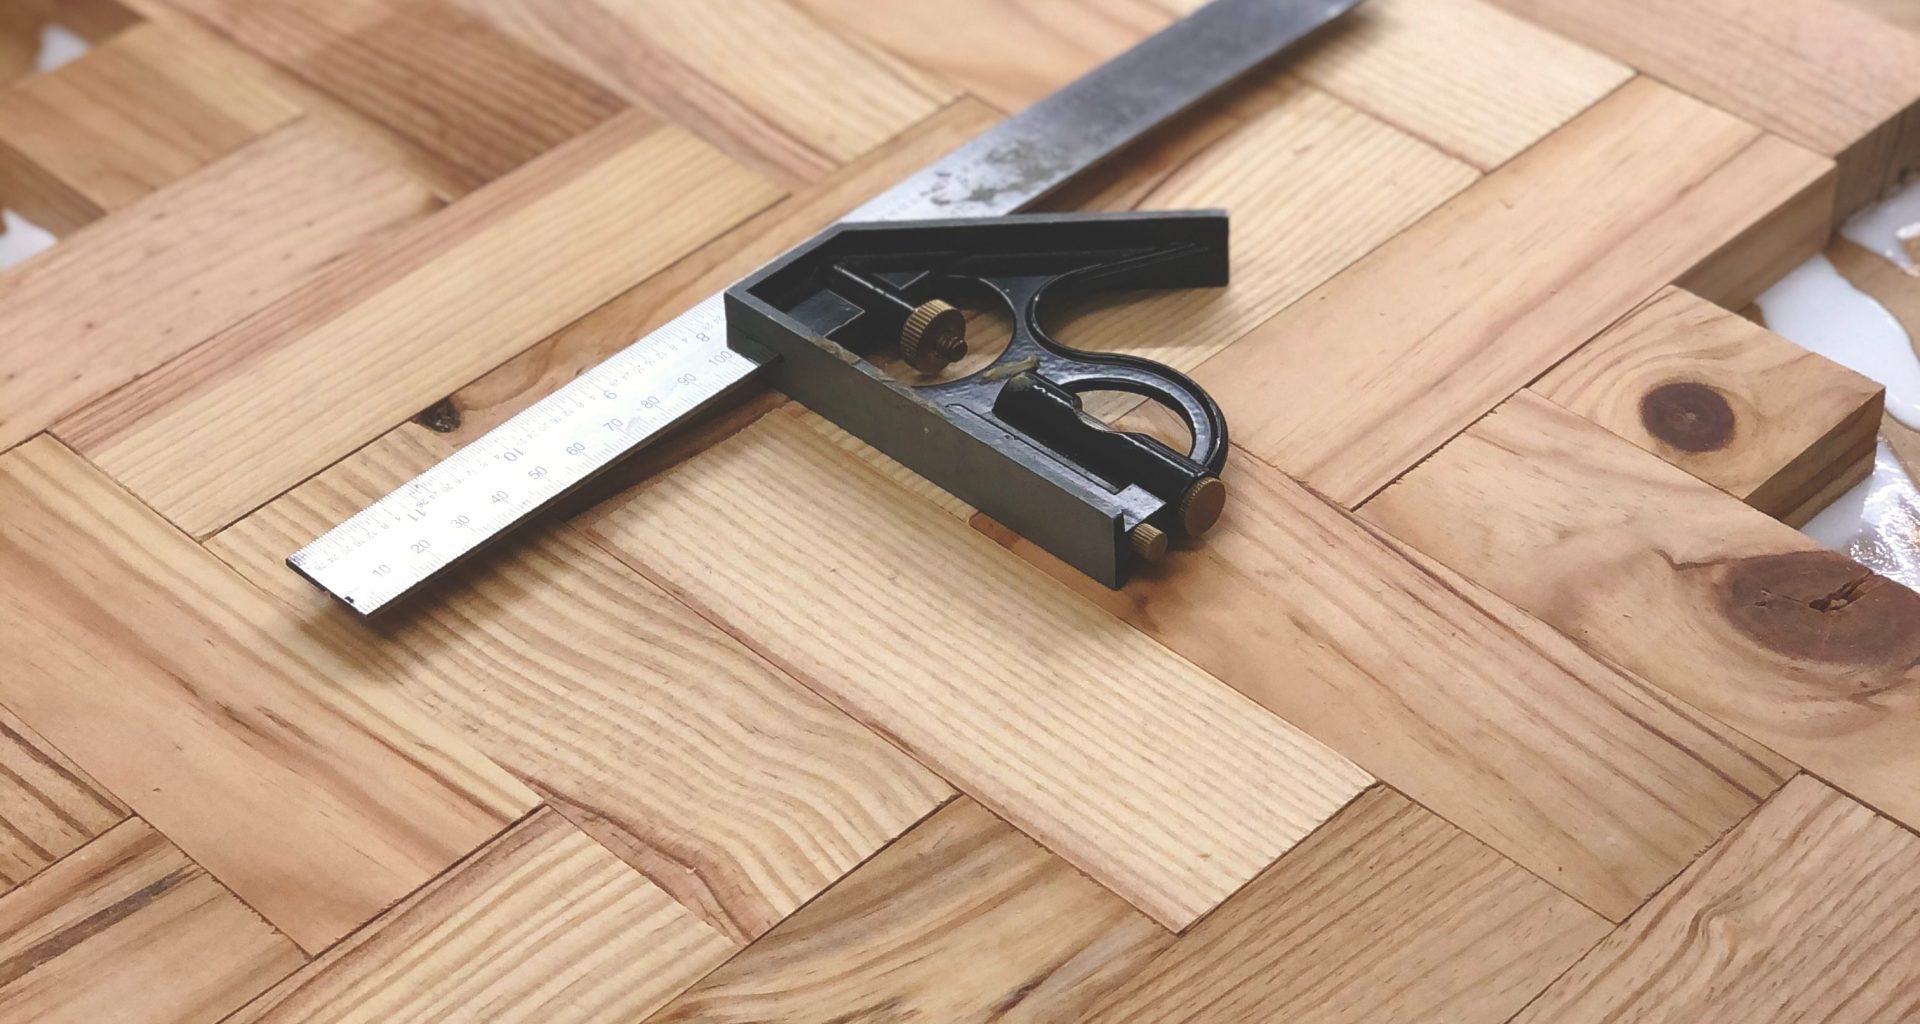
There are a number of basic tools you’ll need for this DIY project:
- Tape measure
- Chalk line
- Trammel
- Straight edge
- Framing square
- Rafter square
- Rubber mallet
- Router and 1 1/4 inch flooring bit
- Drill/driver
- Flooring nailer
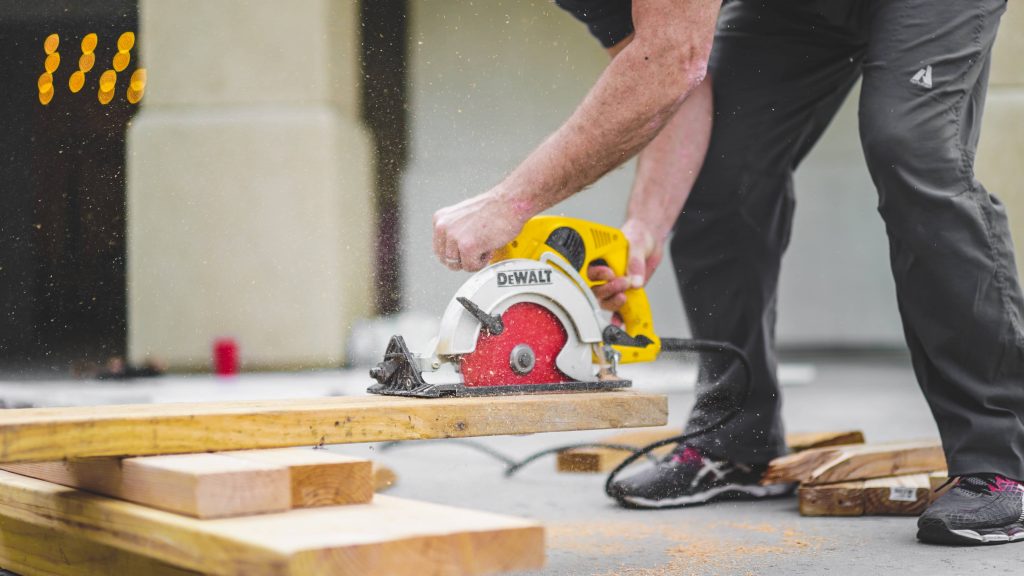
- Circular saw
- Wood glue
Once you’ve got all these bits together, it’s time to get started!
Steps For Installing Herringbone Flooring
So, installing herringbone flooring is a complex task. This is one for the more experienced or seasoned DIYers out there. Don’t take this project lightly: it will be costly if it goes wrong!
Step 1 – Planning Out Your Herringbone Flooring
Planning and preparation is really important in this project. As herringbone flooring is patterned, you must be very accurate with your measuring and marking. Veering off marked course even slightly can ruin the whole pattern.
Begin by measuring the room with a tape measure. Write down the dimensions so you don’t forget. Then, mark a chalk line down the center of the room lengthwise. Following this, use your trammel to mark a perpendicular line to this. If you’re unsure how to use a trammel, see this user guide. Once the perpendicular lines are marked, you can measure off of them to create the rectangular area that the herringbone flooring will cover.
Step 2 – Measuring Flooring Slats
Next, cutting herringbone flooring slats accurately is important. The lengths of wood you are using must be cut exactly so that the pattern works. The length of the slats need to be an exact multiple of their width.
Lay out the pieces to work out what estimated length will fit your measured area ending with a full-length slat on either side. Use your rafter square to place the first piece of wood at a 45-degree angle to your centreline. Zig-zag out to the side so that the pieces overlap at 90-degrees to adjust for length. Once you have the pieces laid out, this will indicate roughly the lengths you need to cut. Note down the exact measurement needed.
Step 3 – Cutting Flooring Slats
Once measured, you can next cut your herringbone flooring slats. Begin with a test piece. Mark the chosen lengths on one slat and use your circular saw to cut the piece. Lay the piece down on the flooring area you’re working on to check it fits well. If so, you can cut the rest of your pieces.
Once cut, you need to create grooves at each end of the flooring slats so they can fit together. Use the flooring router bit and clamp a slat to your workbench. Rout the end. Make sure they fit together and repeat on all pieces.
Step 4 – Marking The Floor And Installing The Nailing Blank
Use your centreline, rafter square, and straightedge to mark where each board should go in relation to your centreline. Then, you can install the nailing blank. Get a piece of plywood and cut the factory corner of this wood with a circular saw into a right-angle triangle with two sides matching the length and depth of your slats. Mark the centreline of this piece: it is called the nailing blank. Position it with the long edge on the top border of your working area and screw it into the layer that goes underneath the flooring. Route a groove along the two open edges of the blank.
Step 5 – Setting Up Your Herringbone Flooring Pattern
Now, you can set up the pattern of your herringbone flooring. Align your first slat with the side of the blank covering the centreline. Lay the rest of the slats to match the pattern, overlapping the end of the first to begin with. Once they are all laid, you can nail the slats in place with your flooring nailer. Begin with the first slat and work your way along. Also using the mallet, drive the nails in further to make sure they are secure. Work in one line along your marked rectangle work area.
When you get to the end of your working area, remove the nailing blank and reverse it, moving it along to form the next work area. Then start working on the second section of your herringbone flooring by repeating step 4 and also 5.
Step 6 – Finishing Touches For Your Herringbone Flooring
Once you’ve set the main body of your herringbone flooring, you can add the finishing touches. Cover any areas left blank using slats of the correct length and also wood glue. You need to glue slats where they intersect with the groove of an installed slat as you can’t nail into these. Add slats until the border of your field is covered. Mark the overlap with tape for removal. You can cut off the excess with your circular saw. Trim all the way around your work area until it is perfect. Add groves to the edges of the trimmed pieces so you can install the framing strips.
Attach your framing strips using wood glue on all sides. Use your flooring nailer to add some nails to the border to make sure it doesn’t move.
Conclusion
There you have it! The basics of how to install herringbone flooring. This is a very complex process that is best completed by experienced DIYers. It will take a couple of days to a week depending on how big the area you’re covering is and your level of experience.