Most homeowners take great pride in a well striped lawn and – like most things – there are a few simple ways to ensure you consistently achieve great results. In this article we’ll share these tricks of the trade to help you achieve striping perfection!
Using The Right Tools For The Job
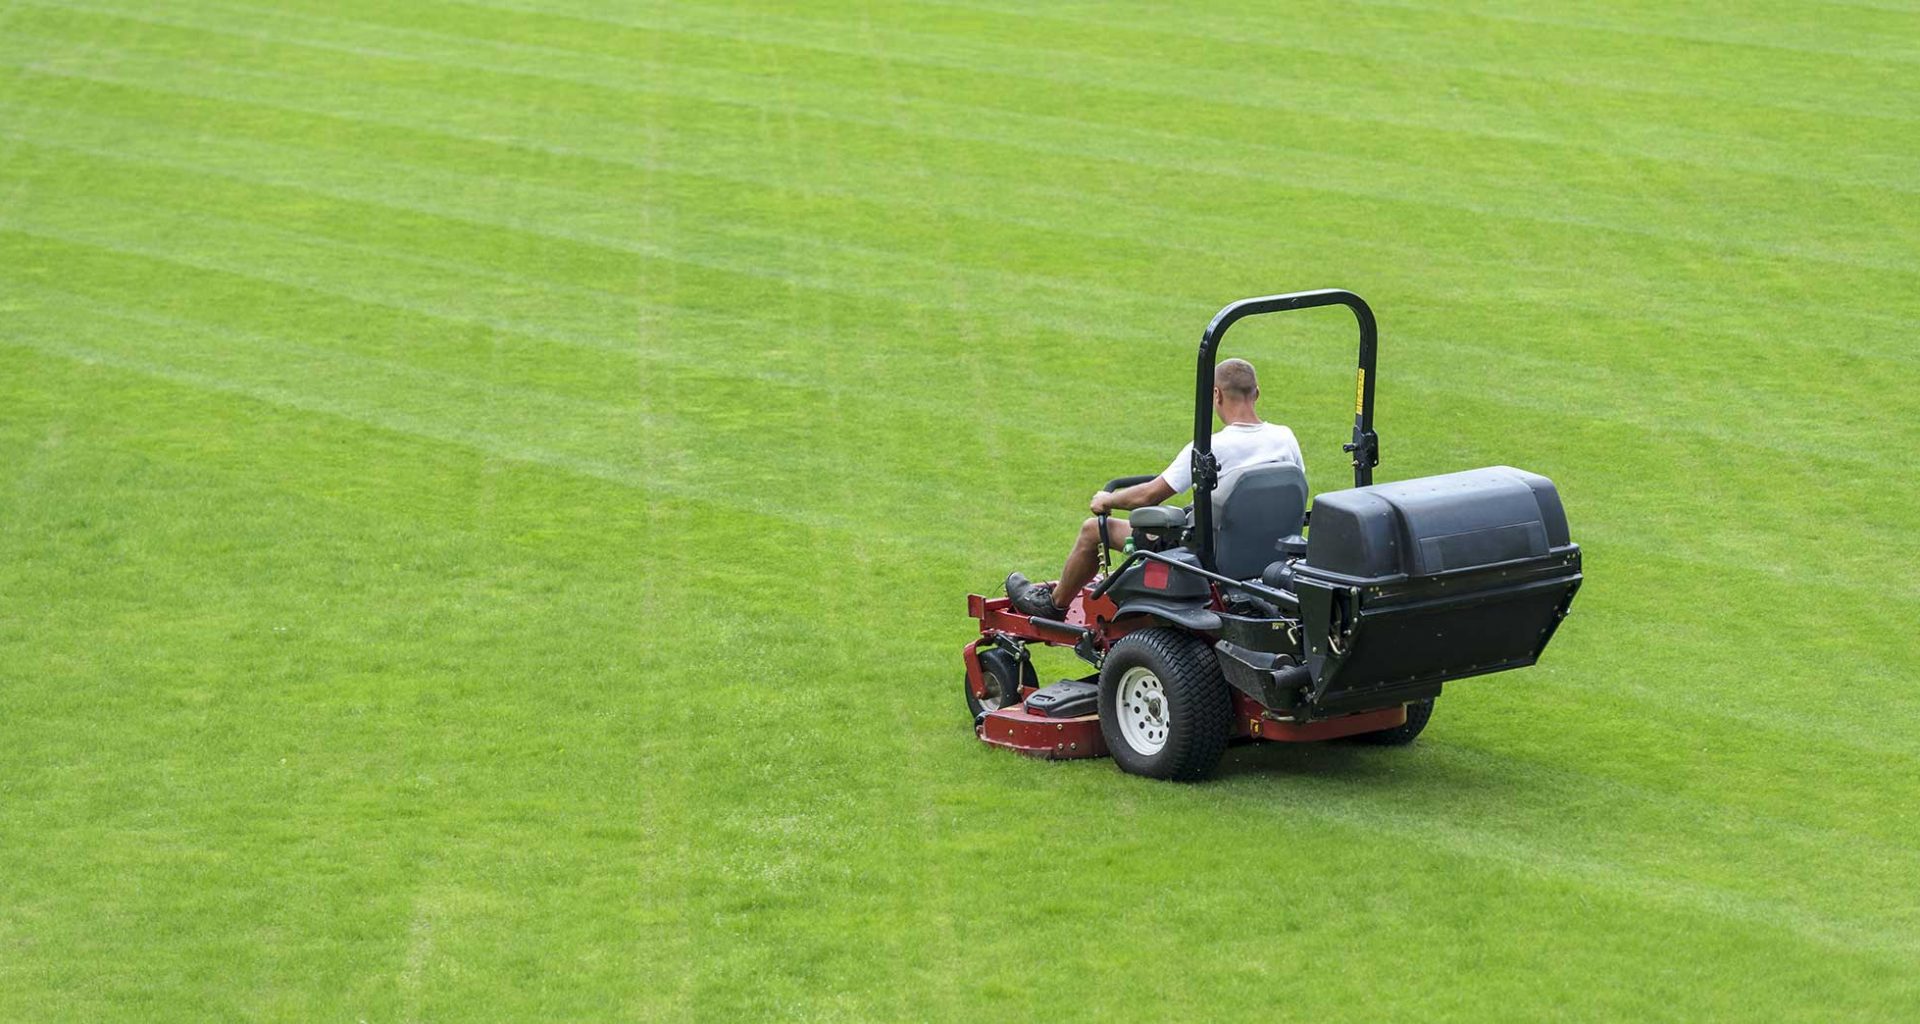
Like anything, you will make your life much easier by using the appropriate tools. If you are mowing a large area, a quality zero-turn mower will make your life significantly easier. Aside from the comfort of being able to sit on the mower for longer periods, you’ll be able to mow much faster than you would with a push or reel mower, and you’ll be able to turn fast and accurately.
Push mowers are a great choice if you’ve only got a small area to mow, and reel mowers work especially well if you’re aiming for a very precise cut over a small area. Additionally, some reel mowers won’t pick up your cuttings – so that could be an additional consideration.
Decide How To Orient Your Stripes
Before you begin, take a moment to decide how to orient your stripes on the property. The classic approach is to make your stripes in the direction from the bottom of the property toward the top, which creates the illusion of making your lawn look longer than it is. You might want to stripe your lawn in another direction though, and you should plan that before you start.
Start With A Few Laps Of The Area
After you’ve decided how to orient your stripes, use the zero-turn mower to make two laps of the perimeter of the mown area. This will help you mow nice and tight to the perimeter, as well as give you a turning area at the end of each stripe. We recommend two laps, and remember to overlap your first lane by a few inches on your second lap.
Keep Your Overlaps and Get into a Rhythm
Now it’s time to start striping. Starting from one side of the area, and working toward the other, mow down in a straight line, stopping when you hit your perimeter. When you reach the perimeter, turn 180 degrees, and mow back in the direction from which you first came, leaving an overlap of a couple of inches over your previous mowed lane. Leaving an identical overlap each time will ensure you don’t accidentally miss bits or have stripes of different widths.
Keep working your way backwards and forwards, and try to get into a rthymn – you’ll find you cover the distance in no time. Some experts also suggest you “sight” each mowing lane – by keeping an eye on a marker on the perimeter or in the distance at the end of each lane.
Checkerboards and Advanced Patterns
Once you’ve got the basics of striping, you can start to try some more advanced patterns! Checkerboards are very popular, and although time consuming, do achieve a more consistent cut. To make a checkerboard, simply make a new set of stripes at 90 degrees to your first set, and voila, you’ll have a checkerboard pattern!
Some people opt for a variation on the checkerboard to produce a diamond pattern. To achieve this, you’ll start by cutting your first set of stripes in the normal way. After you’ve finished, instead of turning 90 degrees to cut your second set, you’ll turn only 45 degrees, and cut your second set diagonally across your first set.
Finishing Touches
After you’ve finished your stripes, do one more lap of the perimeter of your mowed area to cover your turns and leave it looking neat and tidy.